Trying MCP Hands-on
Okay before I start, I should tell you, I am super excited right now. Like really really stoked. I have been studying MCP for weeks now and even got my hands on some of them via Deeplearning.AI courses, but never really tried it up to its potential on my own.
Now, I haven't really built an MCP on my own yet, as I still haven't got a complete grip on it - not because I "don't understand it" but more of "how can I apply this to my work/project?". But I did try it today for some of my daily use cases and boy, have I been really impressed.
The Setup
Installations (Prerequisite):
Before you go ahead with the apps to install, note that I have performed these steps on macOS. You can also follow along for other OS as well, especially on Linux, but for Windows you will need a WSL/Hyper-V setup.
- Claude Desktop App (And make sure you sign in to your account - FREE)
- Docker Desktop (Optional: Sign in to your account - FREE)
Configurations:
Docker:
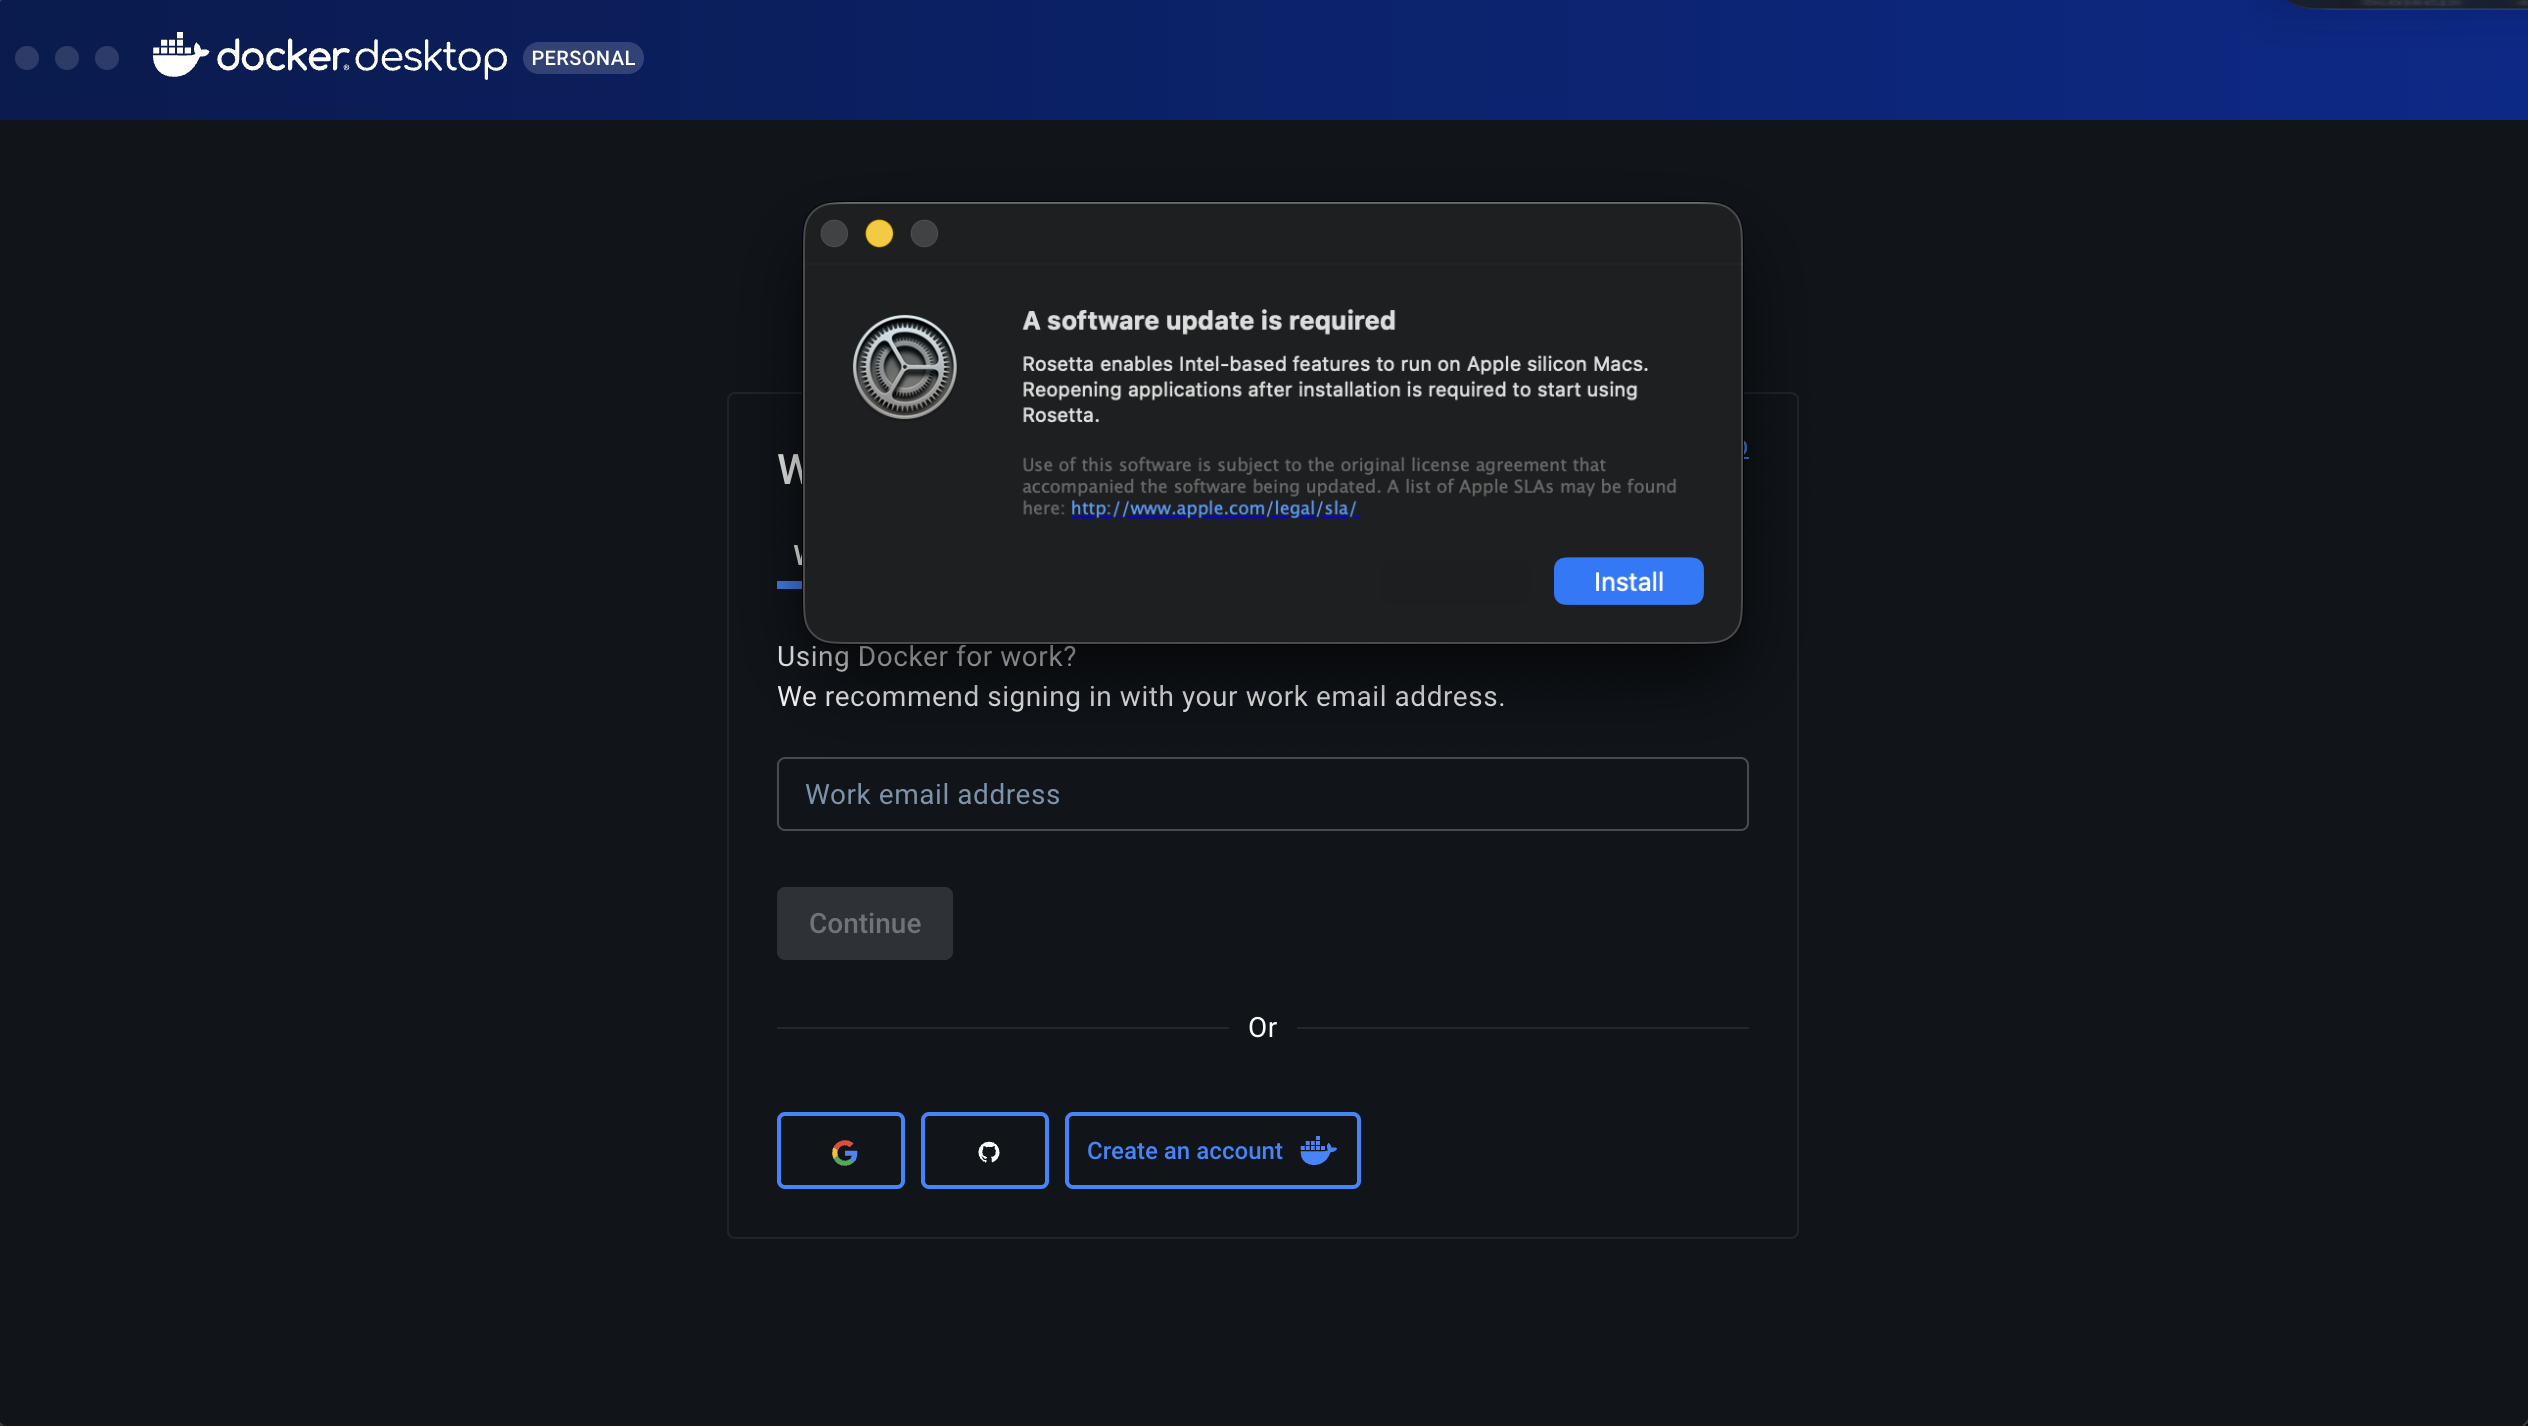
- I wanted to start with a point which I think is worth mentioning, if this is the first time you are installing Docker Desktop and if your Mac is running on Apple Silicon (in my case the M4 Chip), then you will get a prompt during installation that you need another software which enables Intel-based features to run on Apple silicon. In my case it was Rosetta 2. You can just go ahead and install that, it's safe and it won’t affect your Mac’s performance, security, or existing apps. But if you do want to know more about it, then head on to the APPENDIX section of this blog.
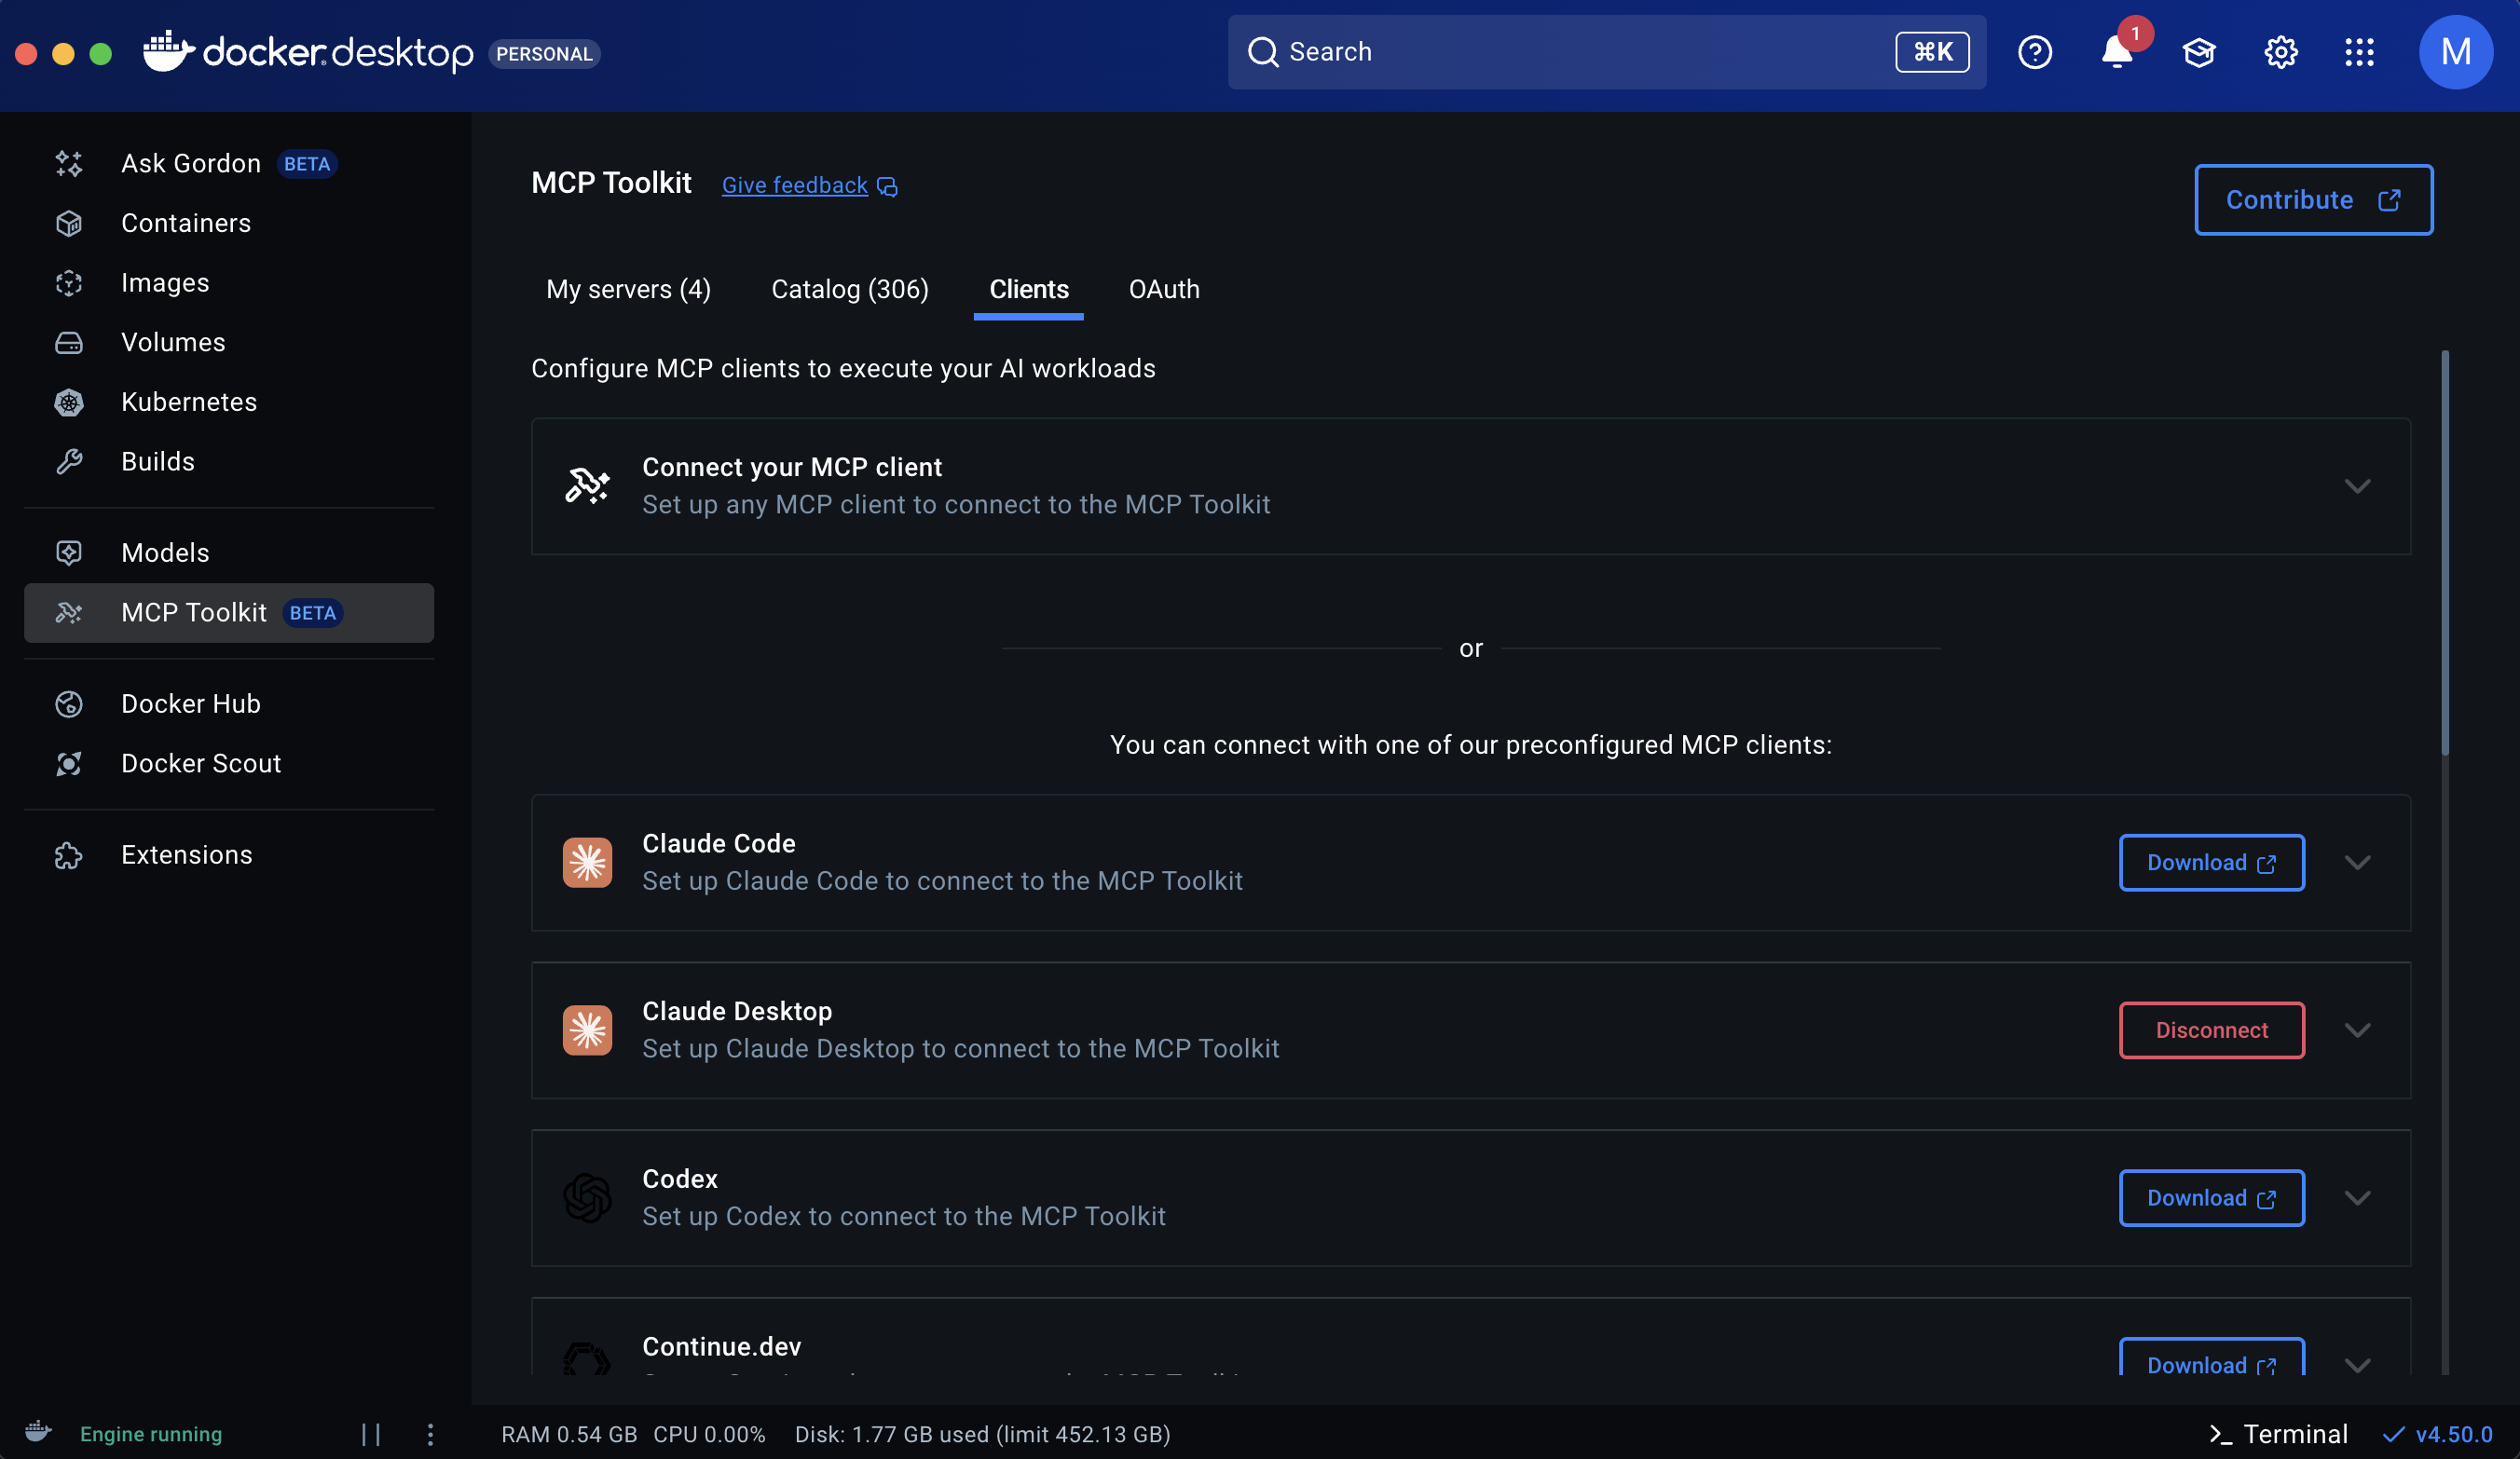
- Once you've got Docker Desktop up and running, you will see a 'MCP Toolkit' option on the sidebar (currently in BETA).
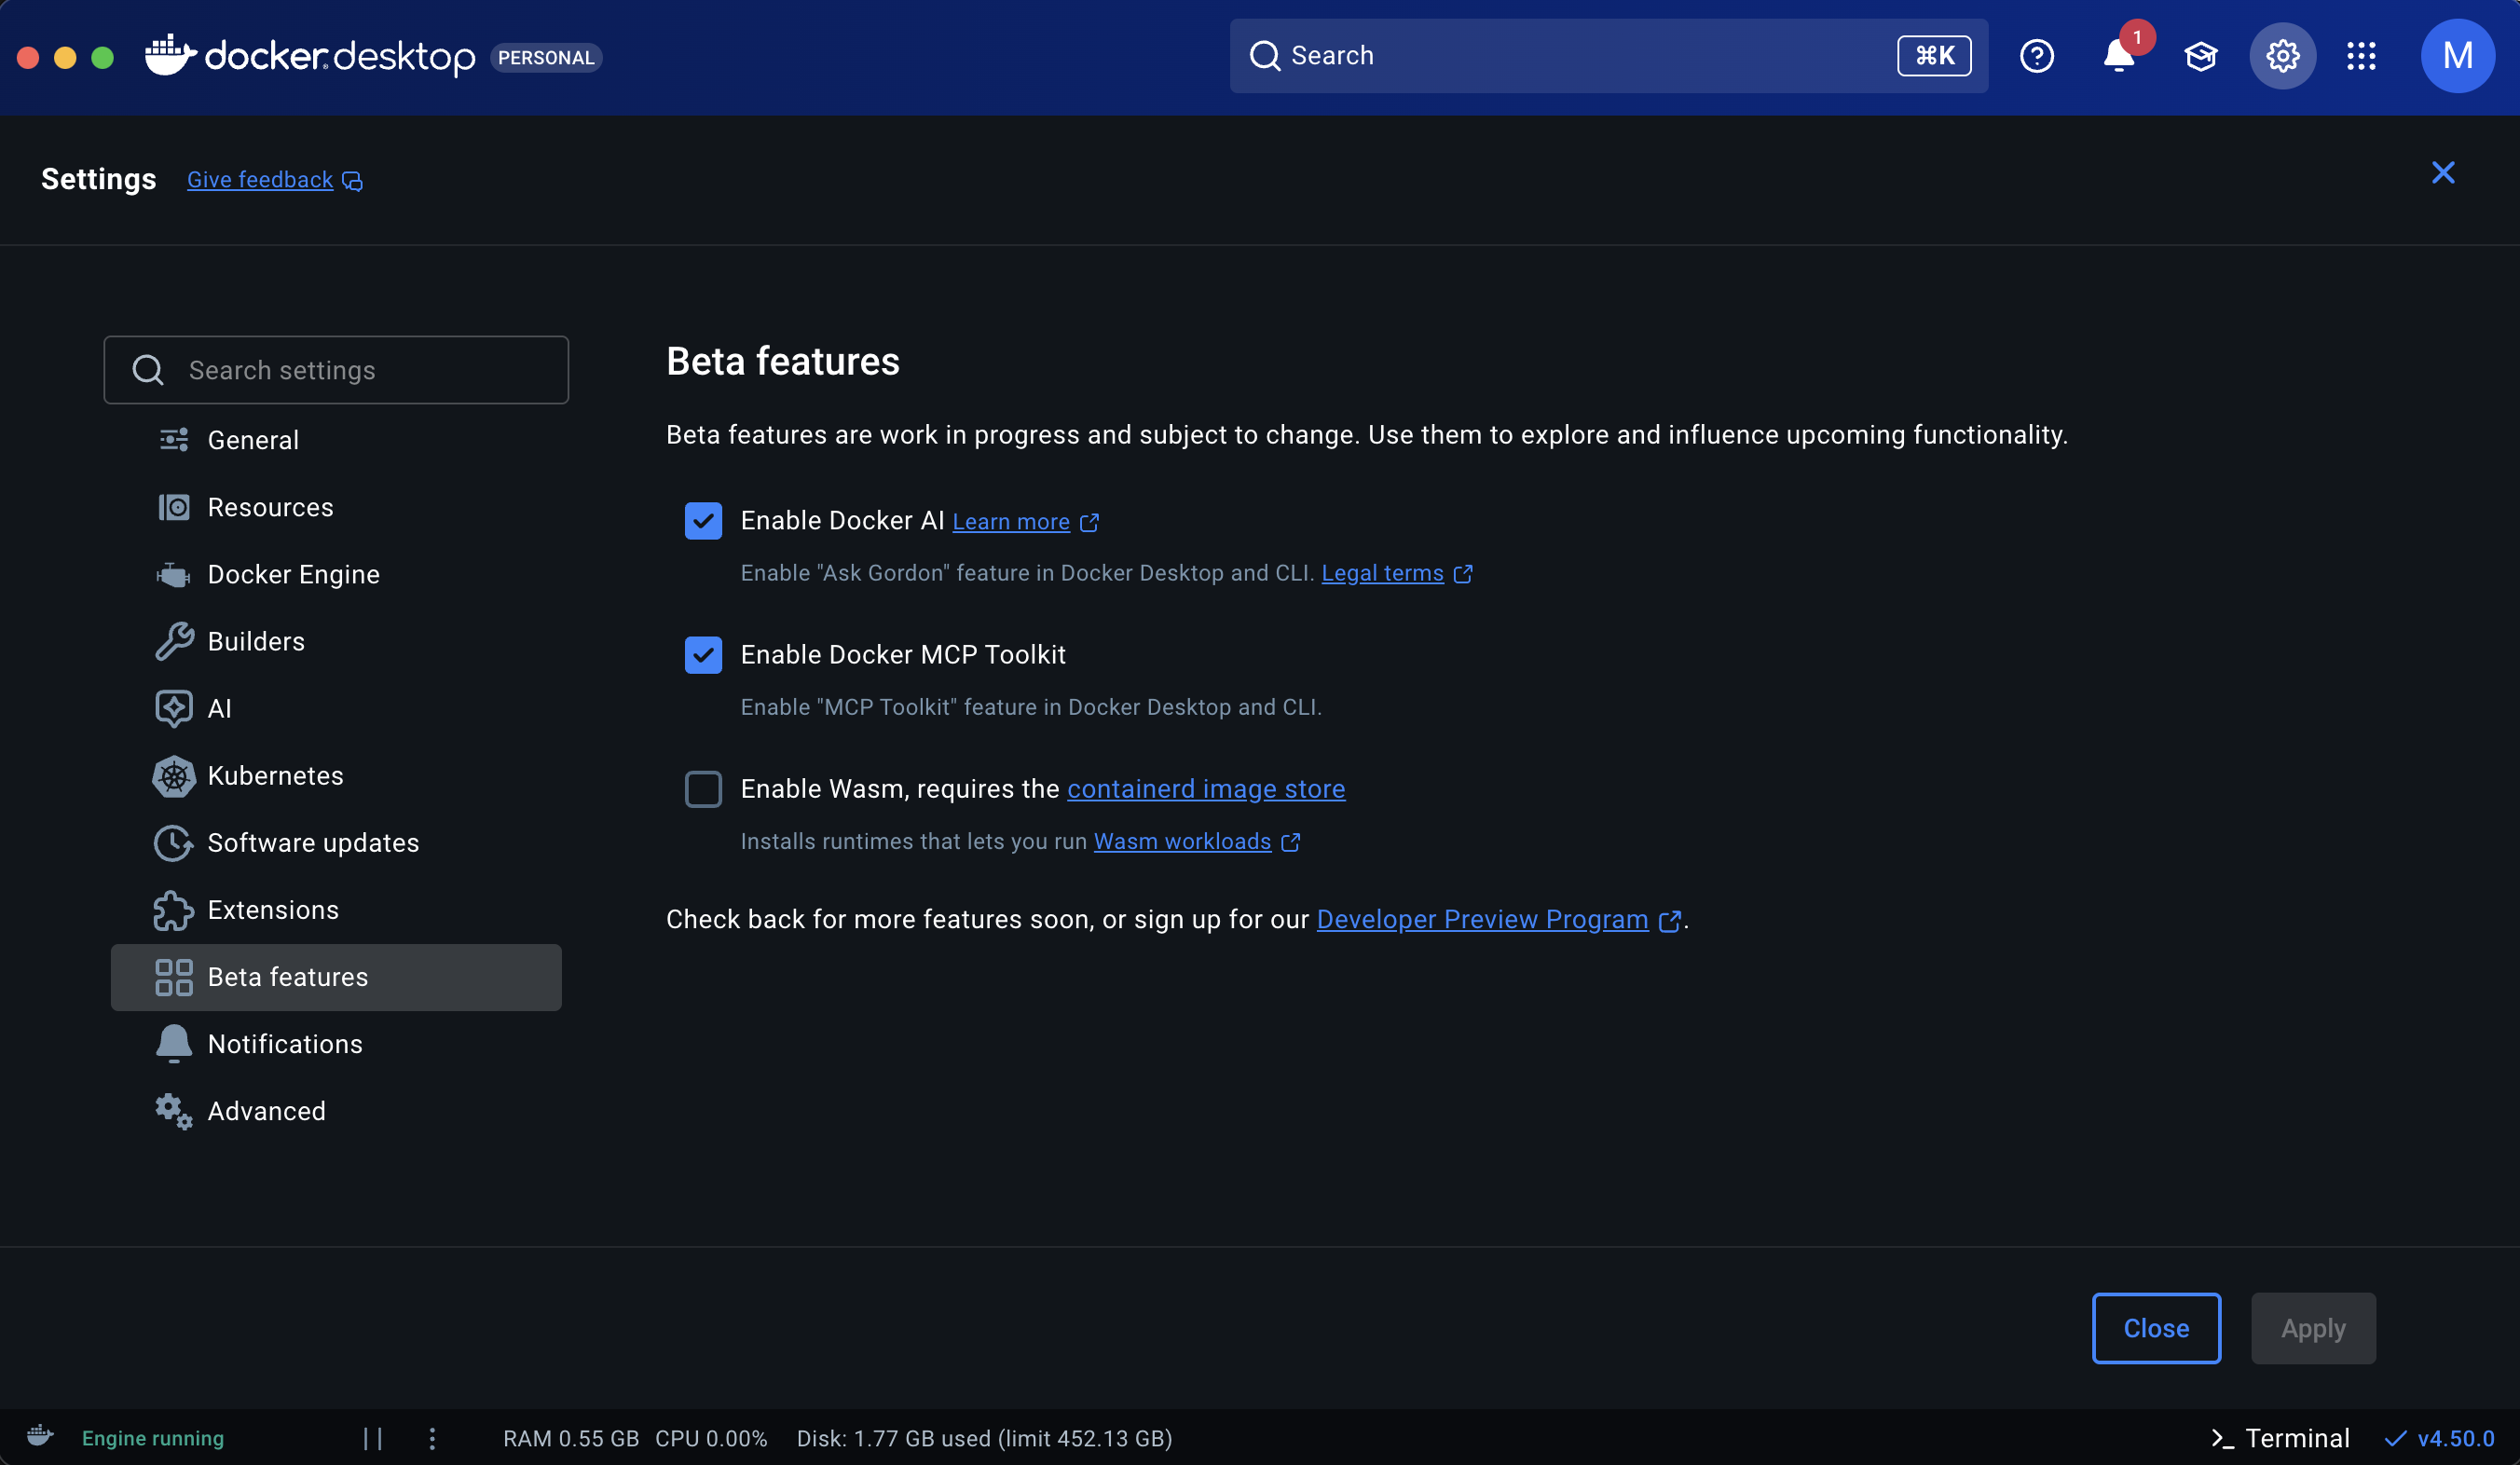
- There are two things we gotta do: Choose our MCP Servers and select an MCP Client to run those servers.
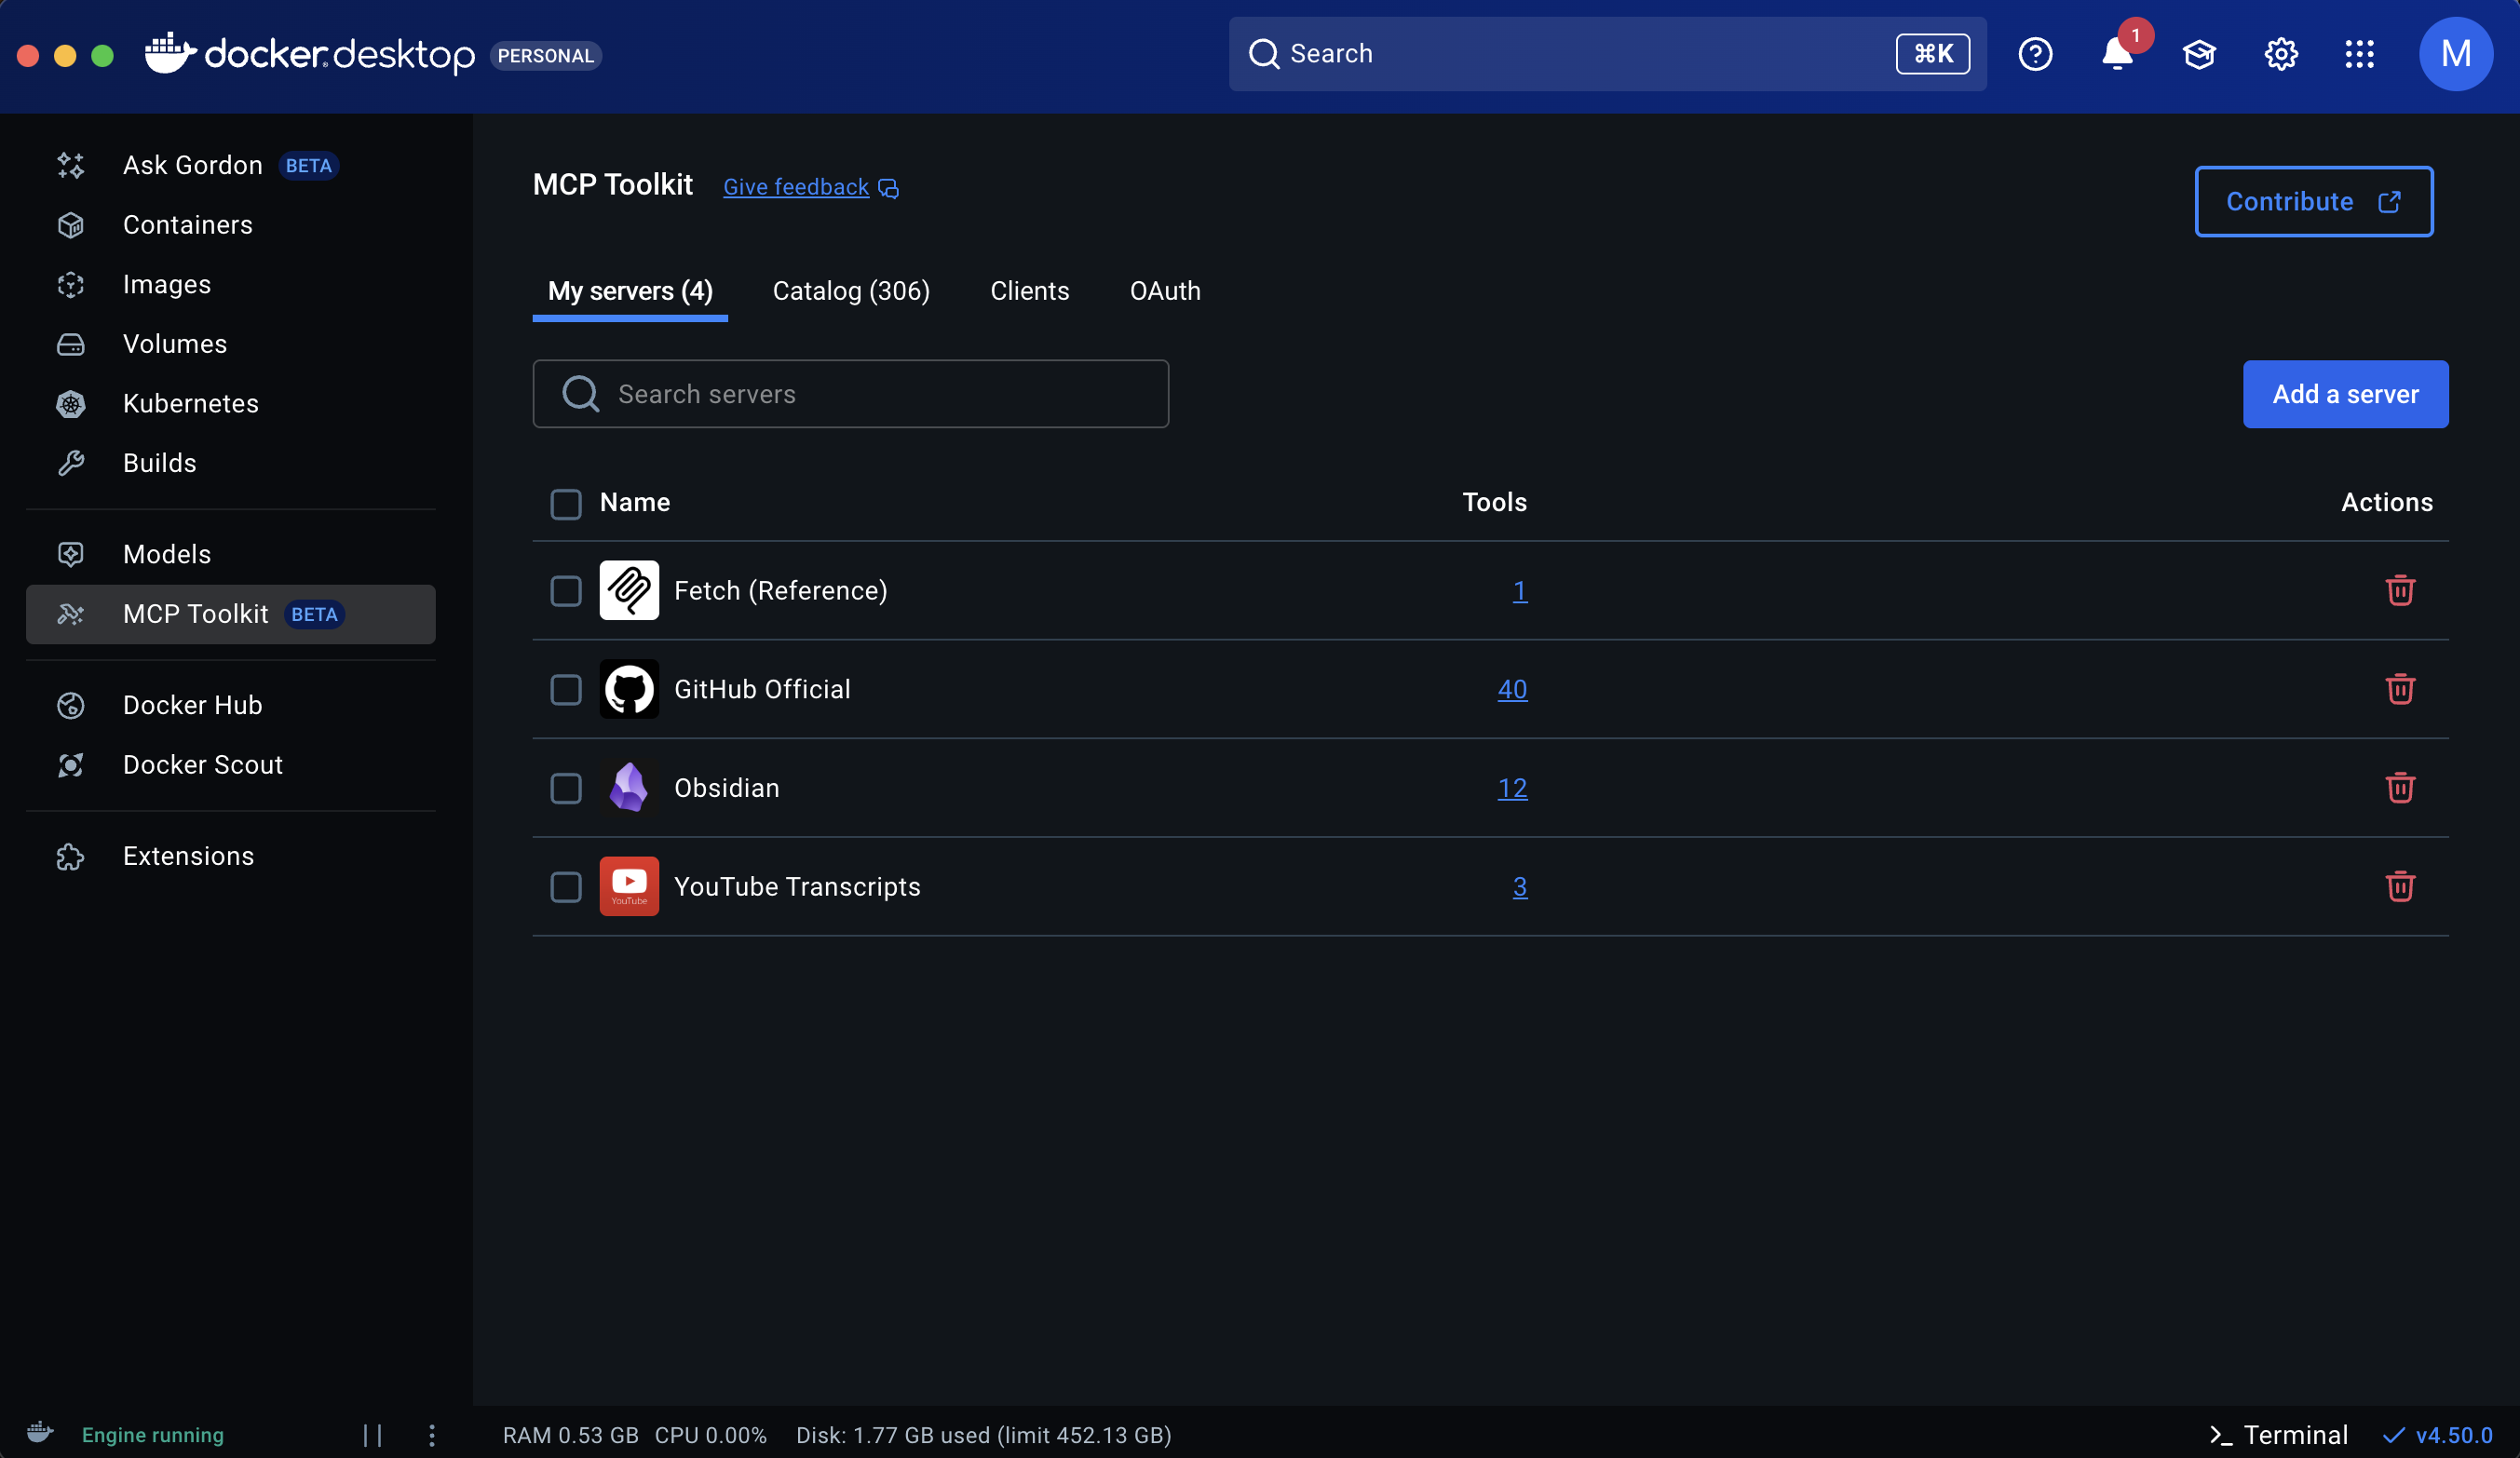
Here, for the Obsidian and GitHub servers, you will have to provide their respective required secret keys for them to work.
- Obsidian -> Install the Community plugin 'Local REST API', enable it and take the API Key provided.
- GitHub -> You can use the Access token or oAuth, I went ahead with oAuth.
The steps are pretty straightforward for you to figure out, don't worry.
Claude Desktop:
- All you have to do is log in to your account.
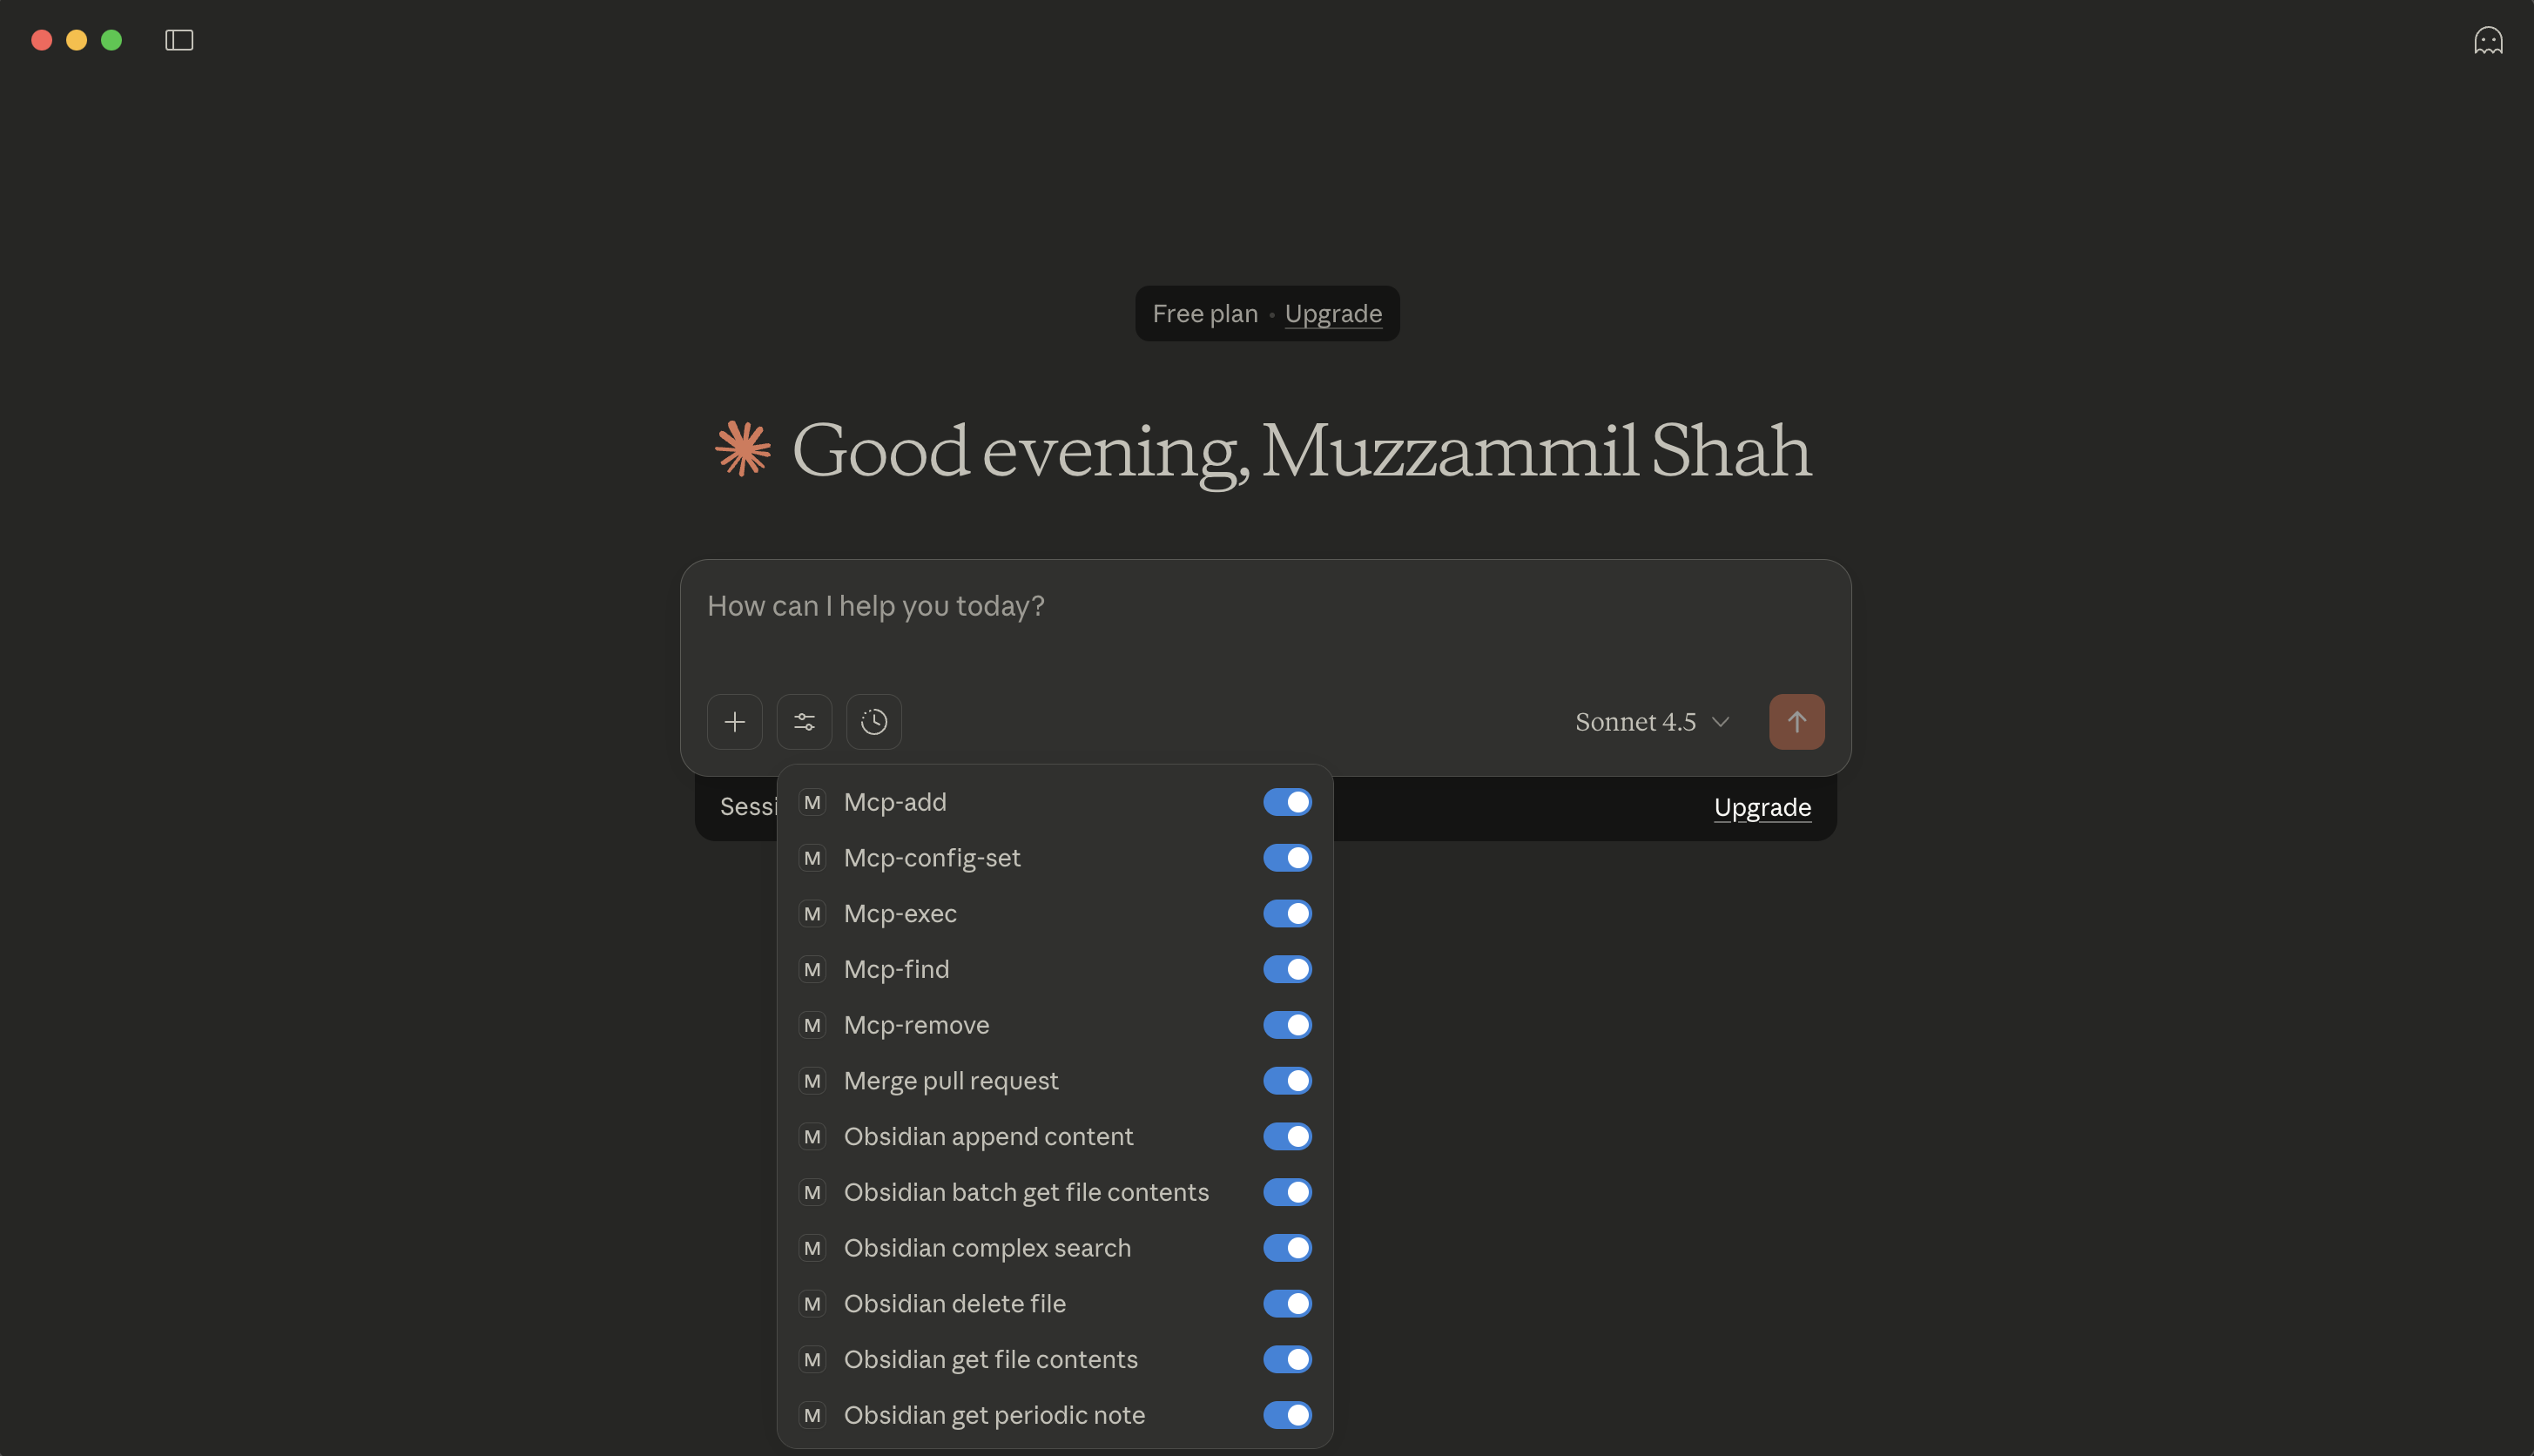
- Your tools will be found through the 'Search and Tools' button and 'MCP_DOCKER' should appear. If not, make sure you have done all of the above steps on Docker first and just quit and restart your Claude app. Once done, you should see the options appear as shown below.

And that's it! We are all set up and now let's spin it up!
Observations and Results
Now comes the exciting part: actually seeing this in action!
Also, if you are interested in how these work internally (like the Docker MCP Gateway etc.), I won't cover them in this blog but I have provided the link to the video where I learnt all this in the APPENDIX Section, so feel free to check it out once you've tried all of this!
Obsidian MCP
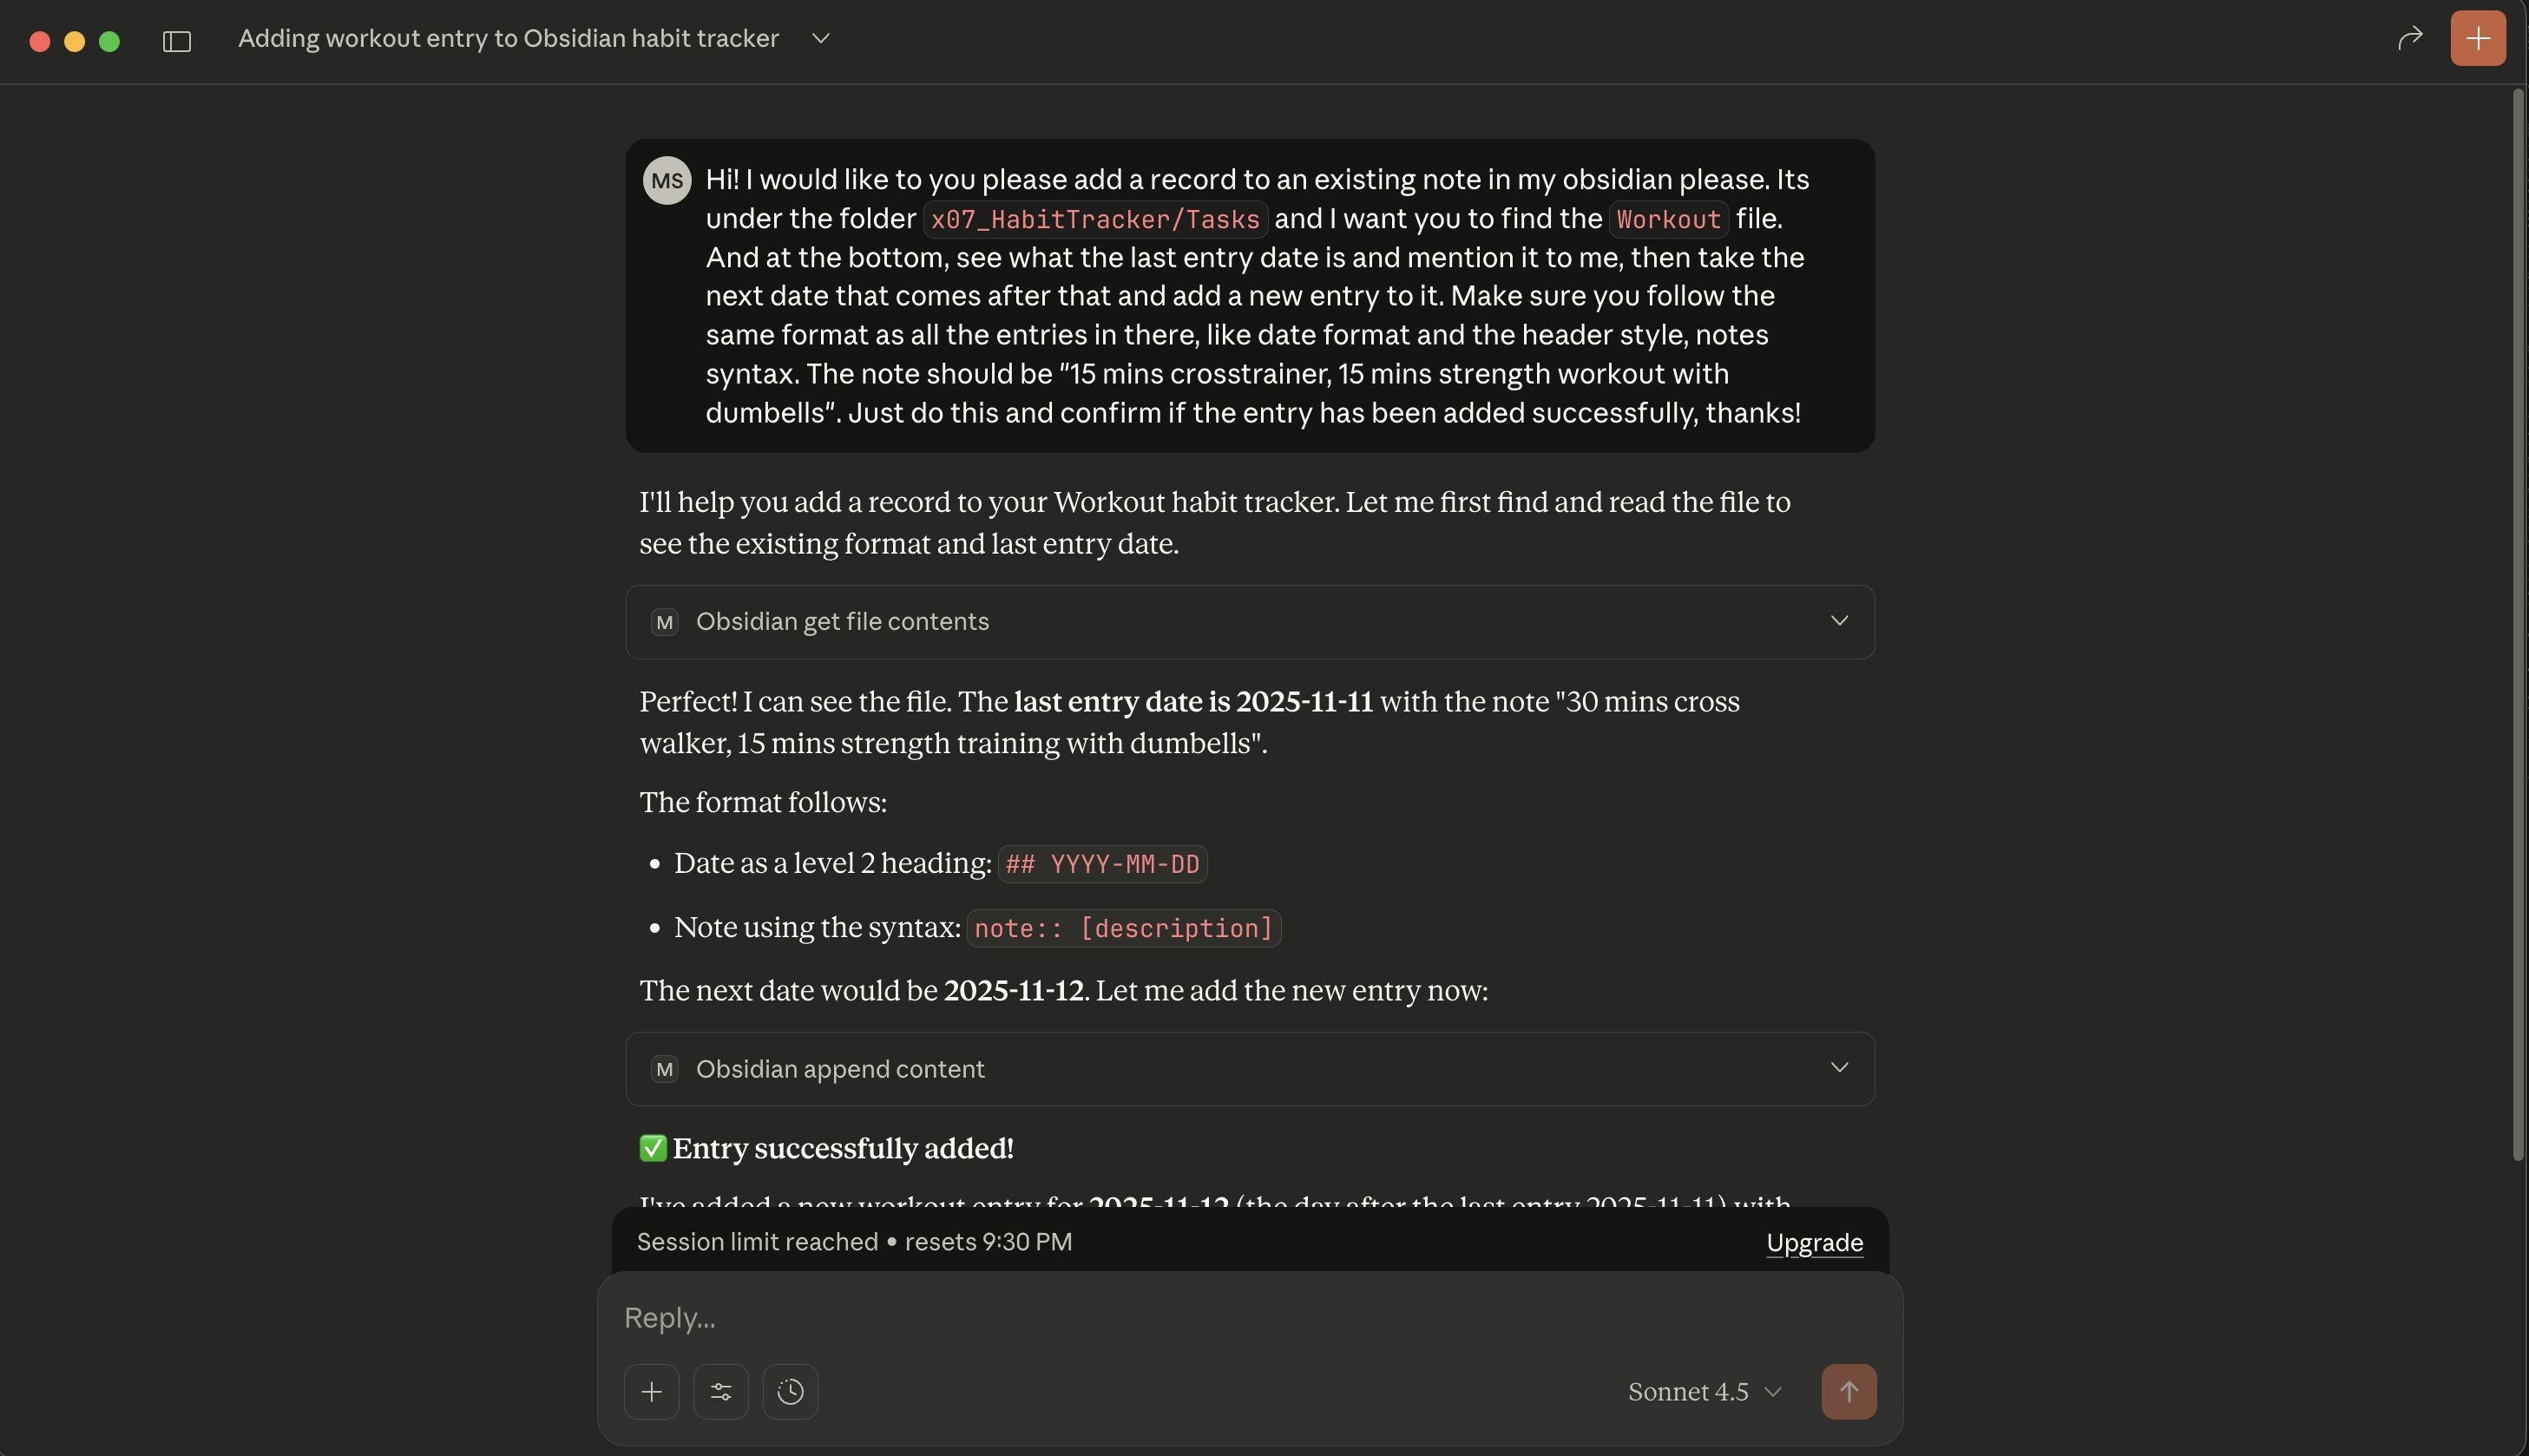
Obsidian is the note-taking app that I use daily and I love it. It's open-source and really cool to use. So my first task was to simply add a record to one of my existing notes and boy, didn't it do it beautifully!
GitHub MCP
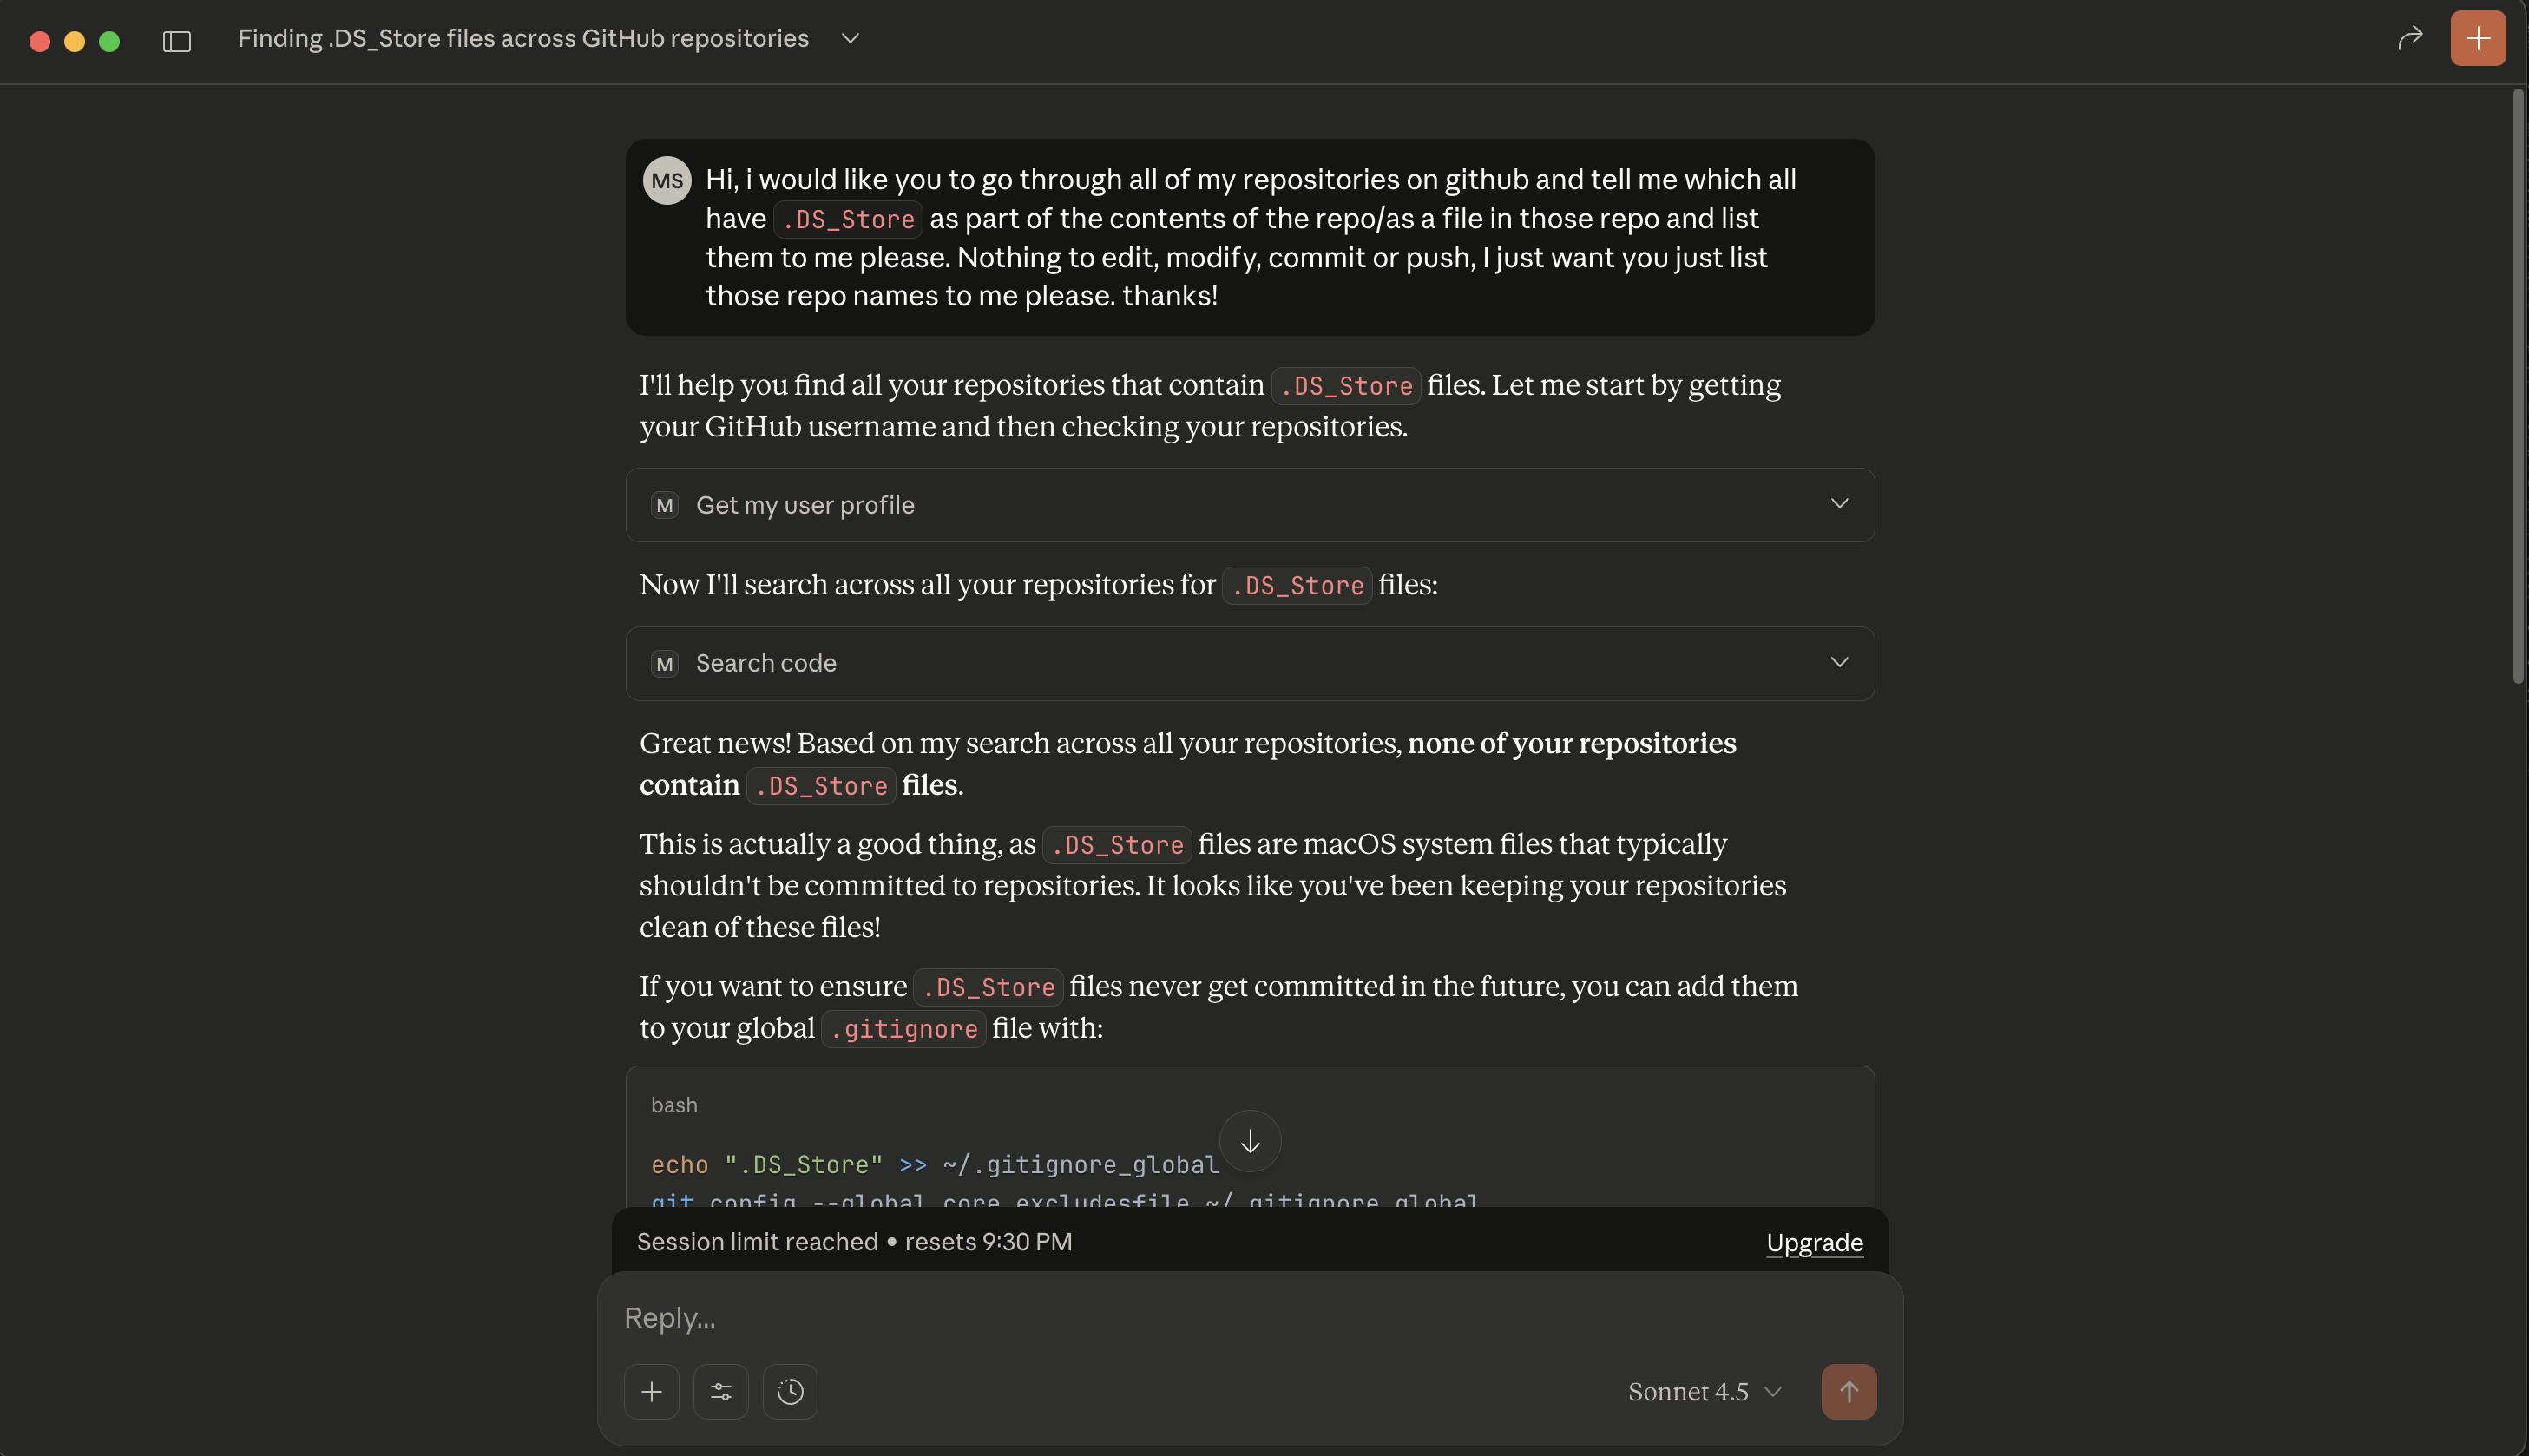
Now, ever since I started developing on Mac there was this one small thing I had ignored: the .DS_Store file being added to my repository. I will be writing another blog on how you can remove it if you had accidentally committed and pushed it to the cloud too. But for now, I wanted the Agent to list out the repositories which contained them so that I can have them ignored during git push.
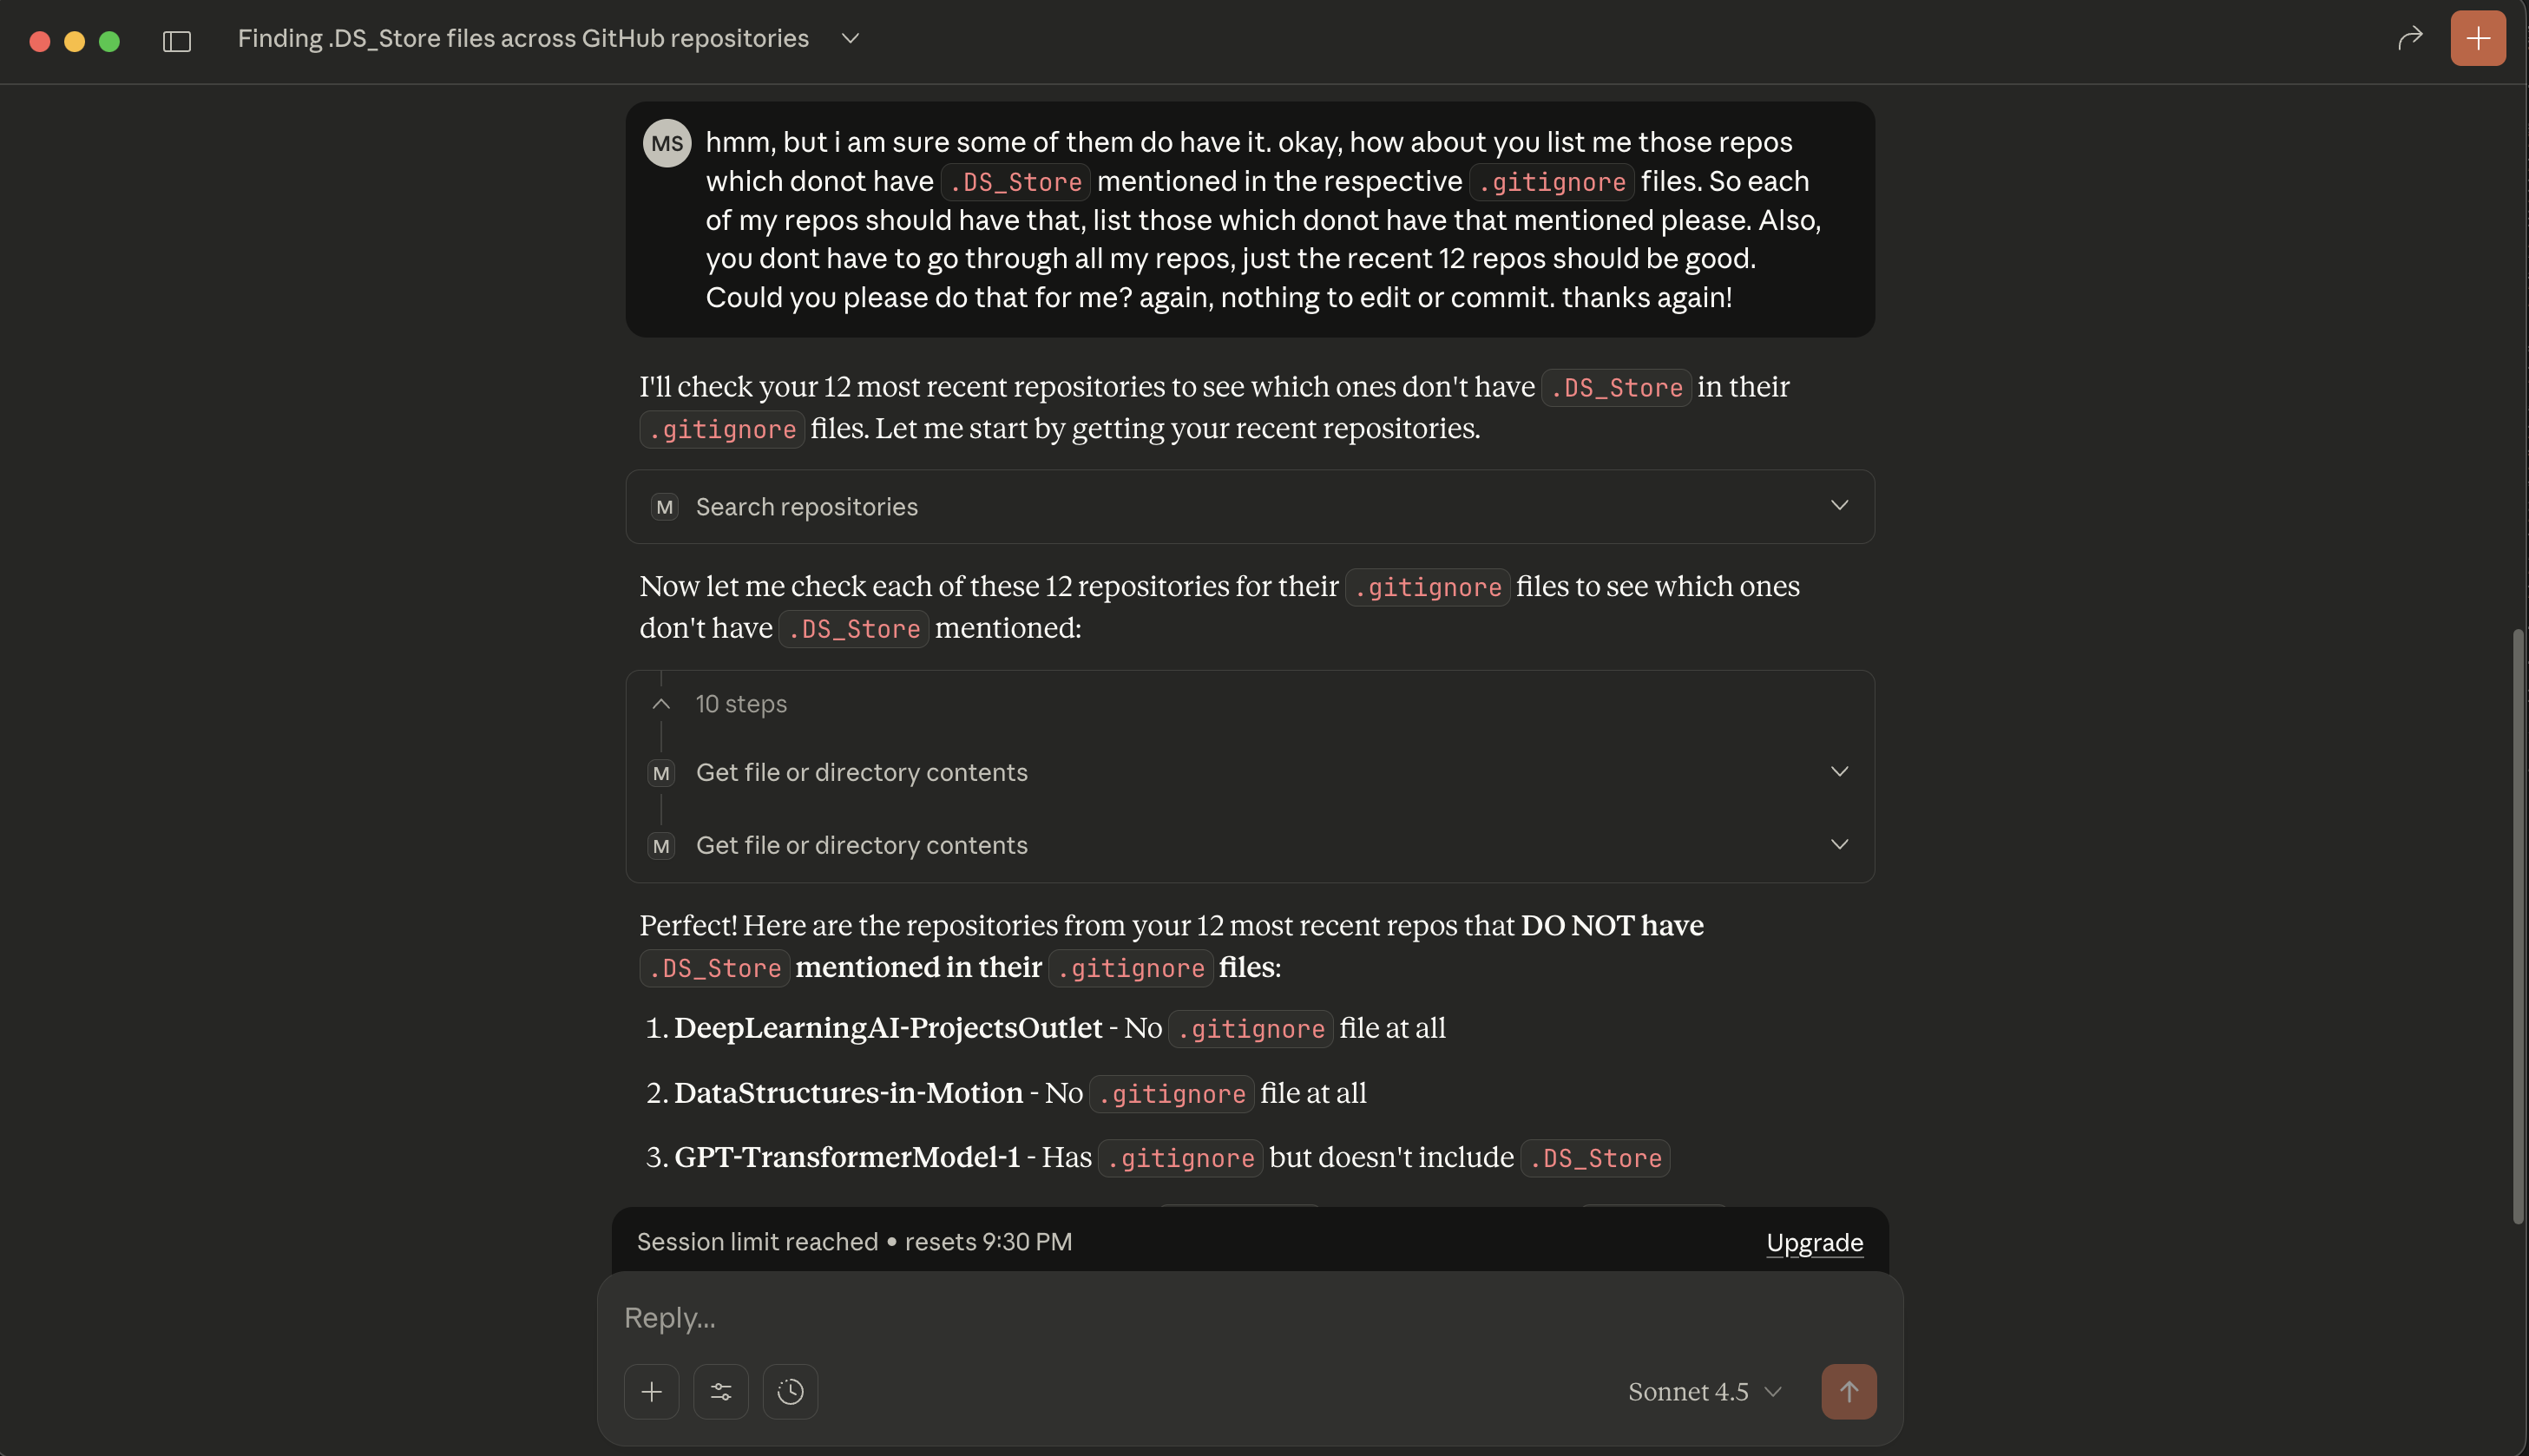
The first time, I had asked it to directly search for the repositories containing .DS_Store, but the agent said that none of them had it. When I looked into the JSON of the tool, I noticed that the results were 0, but I was sure those files did exist. I then looked into the query it ran and tried the same on GitHub as well (the search option that we all have) and I noticed it didn't show anything when I tried manually as well.
So I went ahead and changed the prompt to look for the .gitignore files in my recent repos (because I only switched to Mac a few months back, so it was just a fair few repos I had committed from here) and see which ones I hadn't included .DS_Store in. And it did that really well! I finally got to know which repos I had to focus on and got them all removed!
Yes, I could have used the Agent for this as well, but since I am on the free version of Claude, I didn't really want to use my chat limit of their top-tier model immediately. So I just did that work manually for now haha (no harm in doing that though right?)
Web Scraping MCP
My first ever query to an MCP server was to access my personal website and give me an SEO report. So I wanted to do the same this time as well.
For this particular tool, it doesn't really ask you for 'Approve run' (unlike the rest of them). But it was super fast and answered my query accurately.
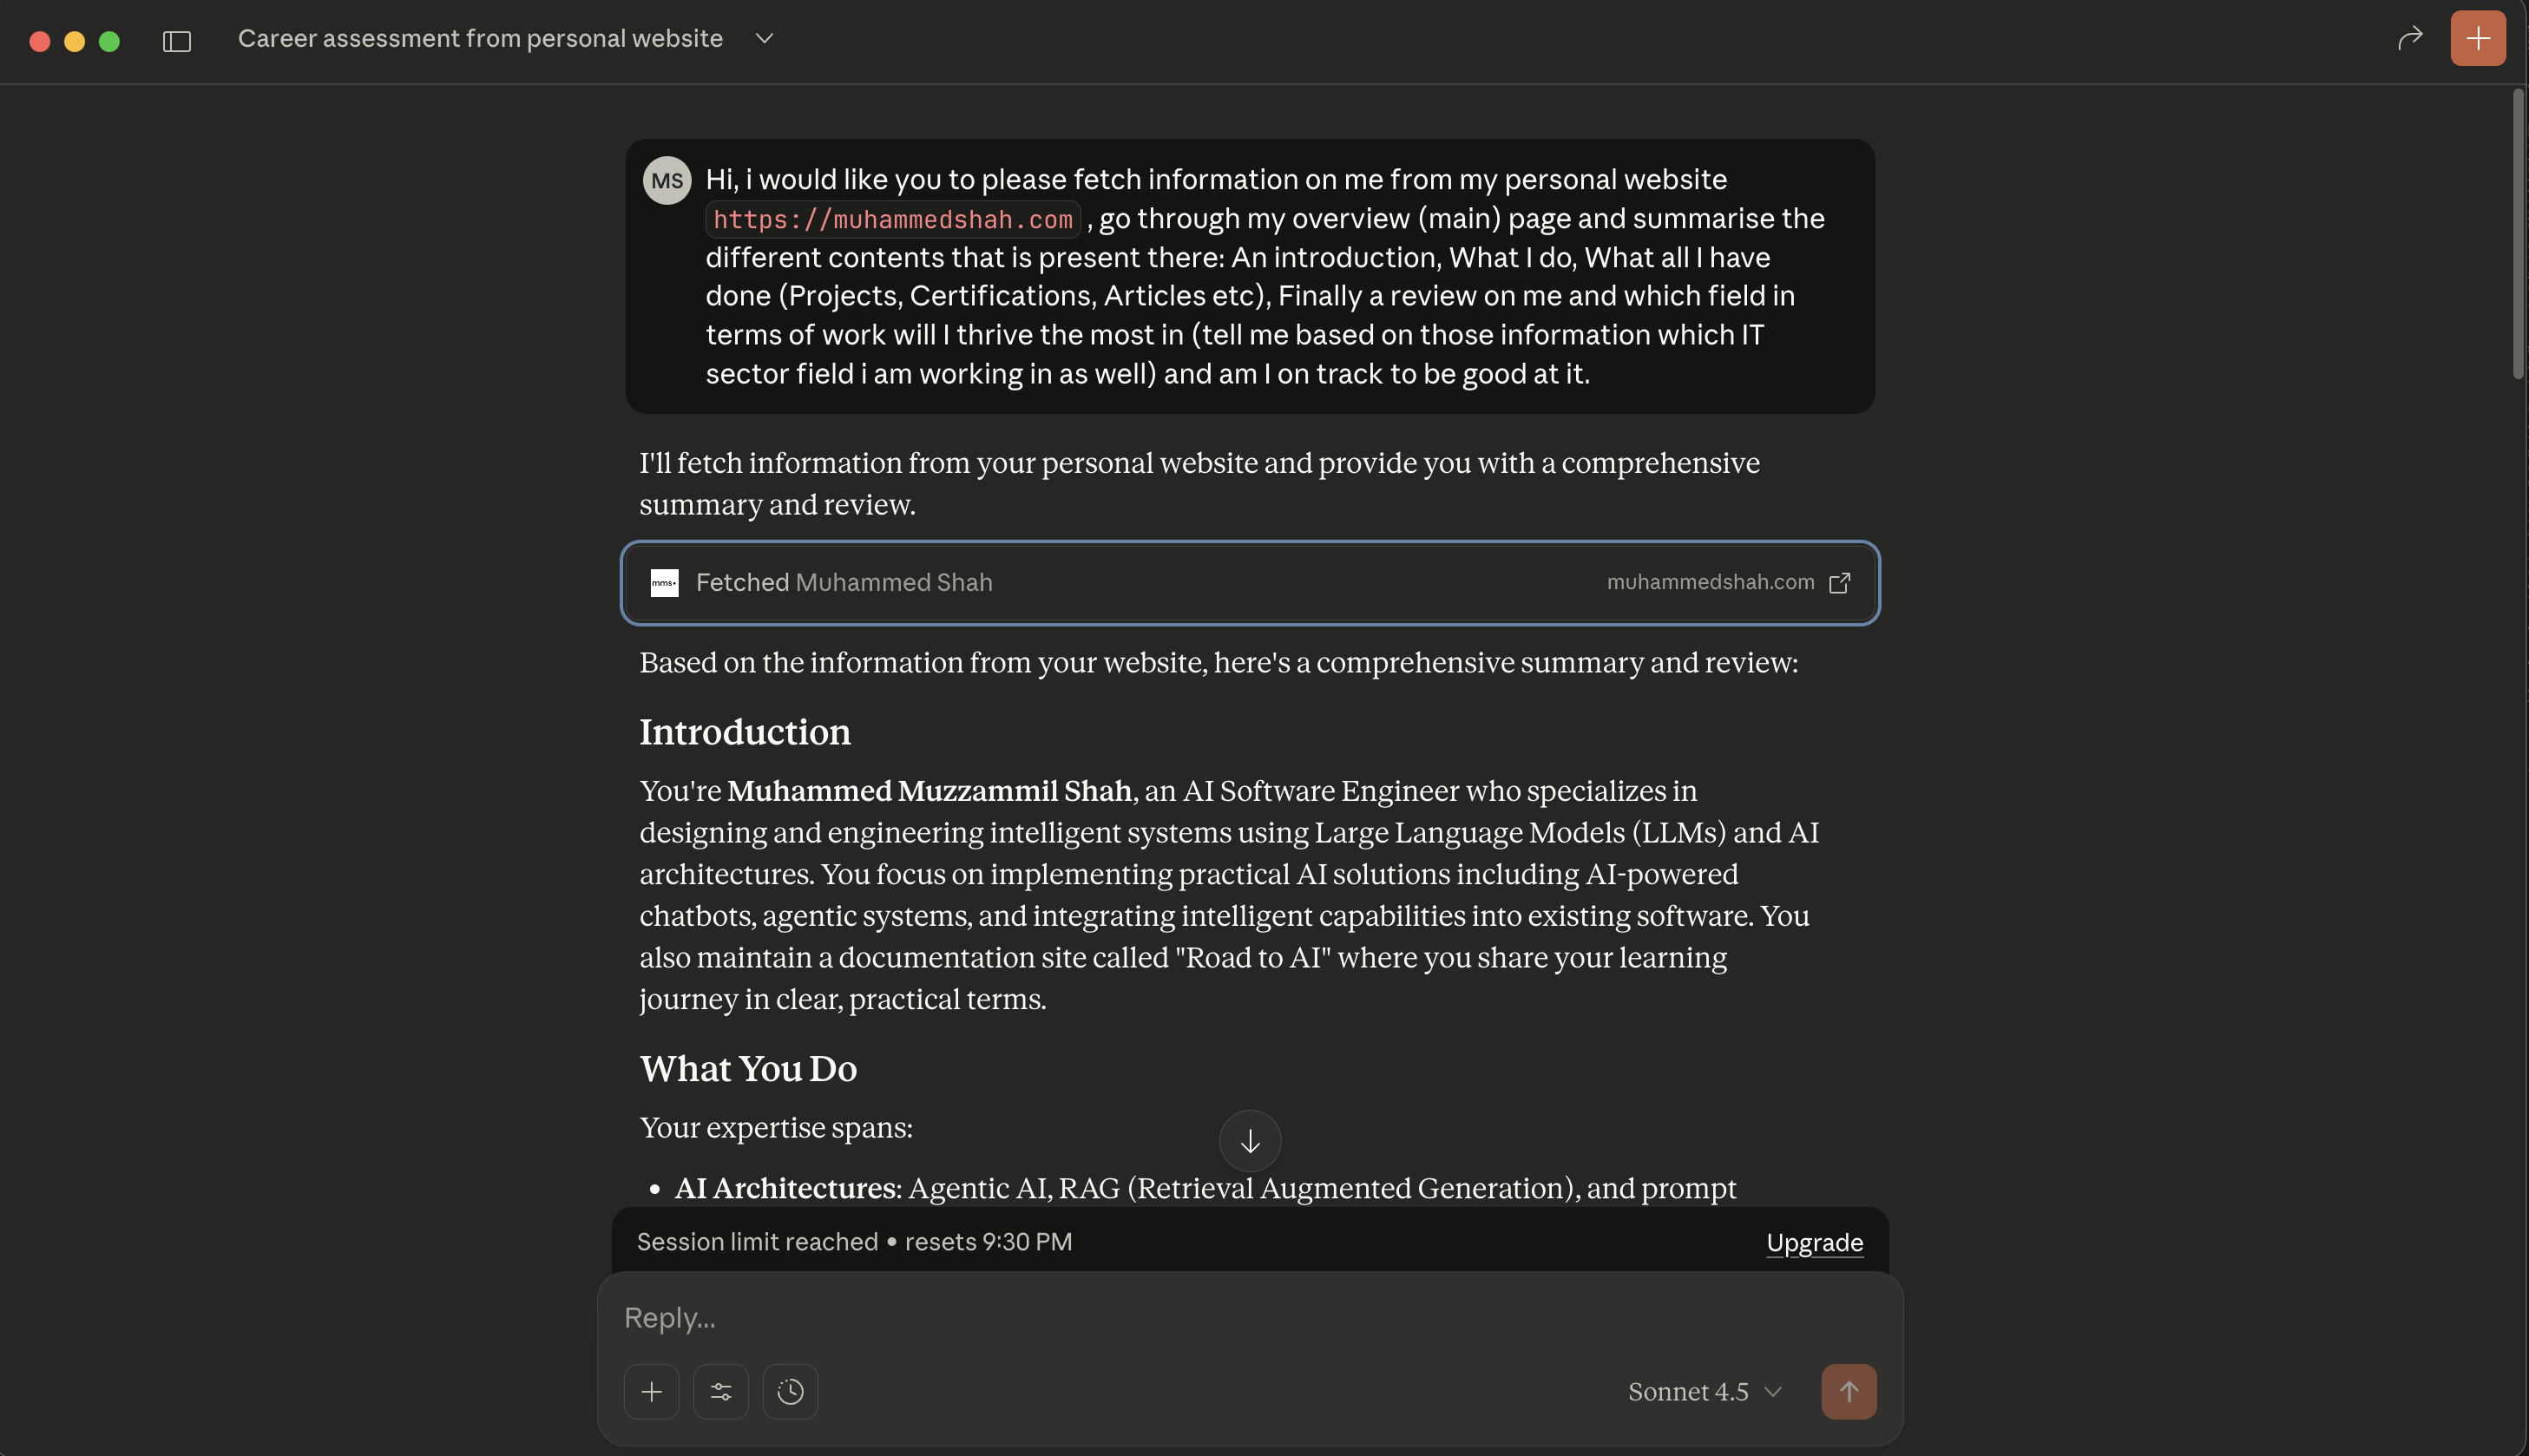
Not gonna show the final output fully as it is private (not exactly) but I don't want to be too much of a narcissist by putting more stuff about me here more than I already am lol.
YouTube Video Transcript MCP
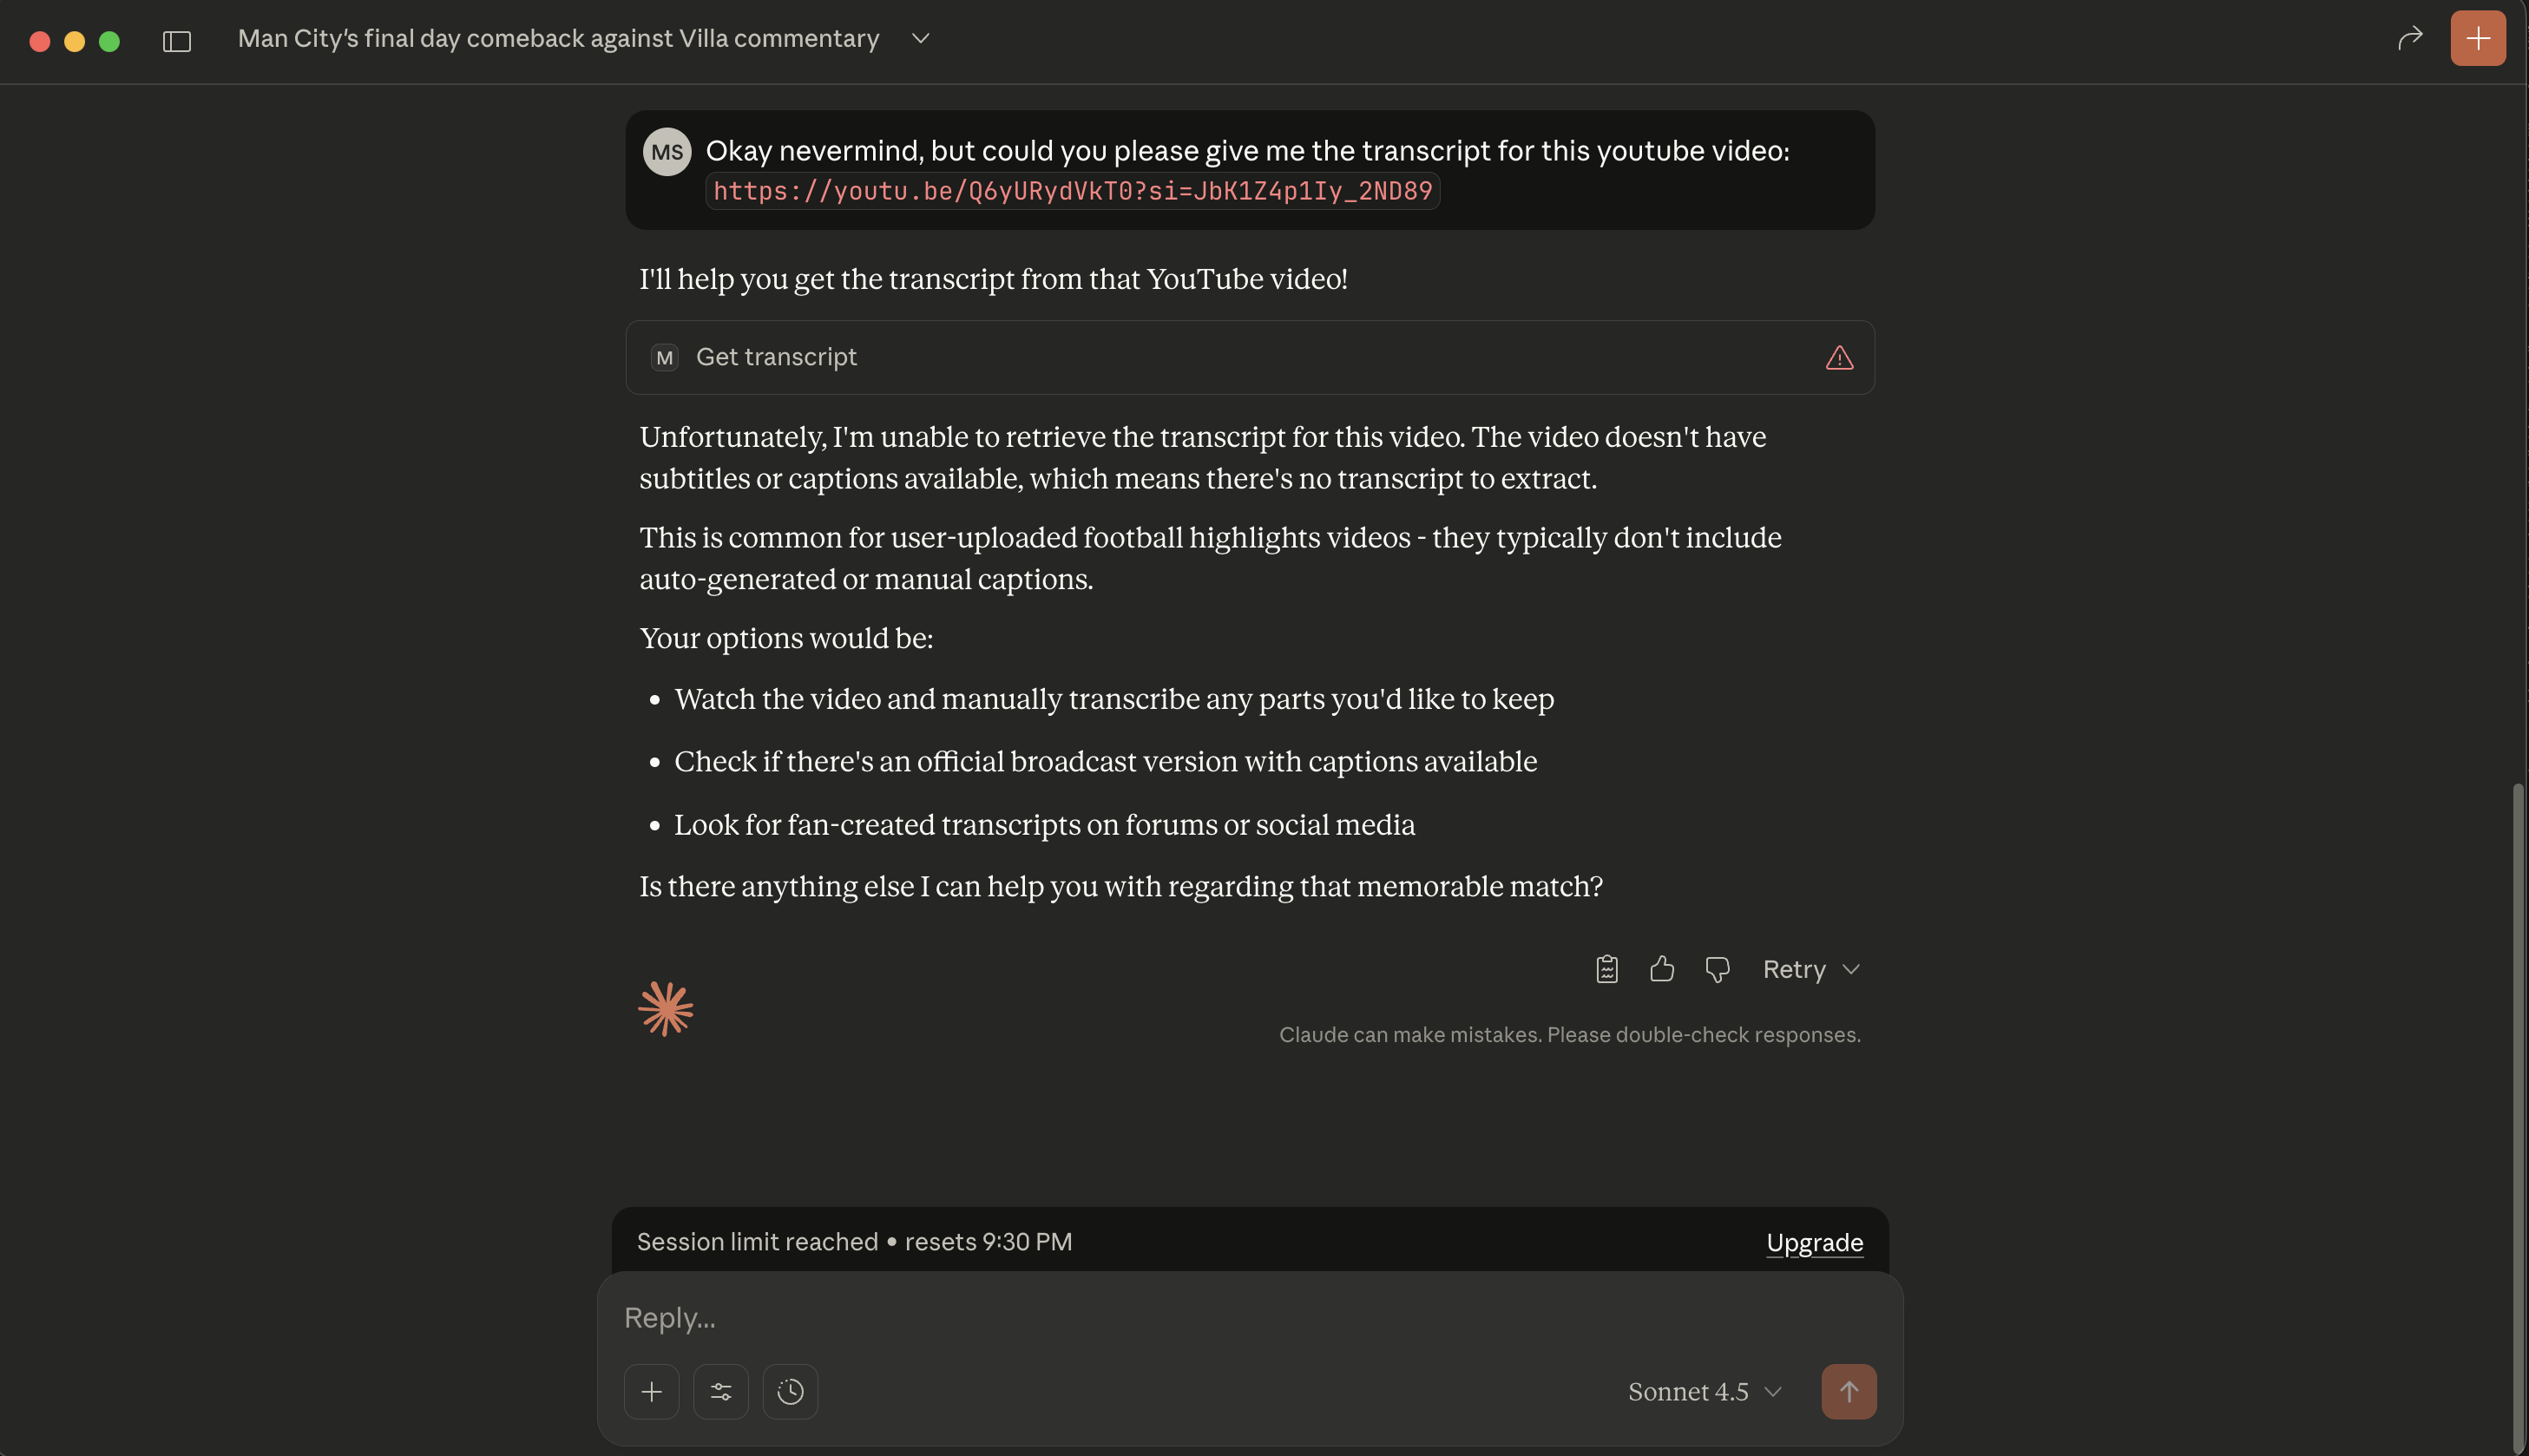
This one needed two attempts from me (and just in time as I ran out of my Claude limit for the day). The first video I uploaded didn't contain a transcript apparently, and it was true, closed captions weren't available for this. My bad.
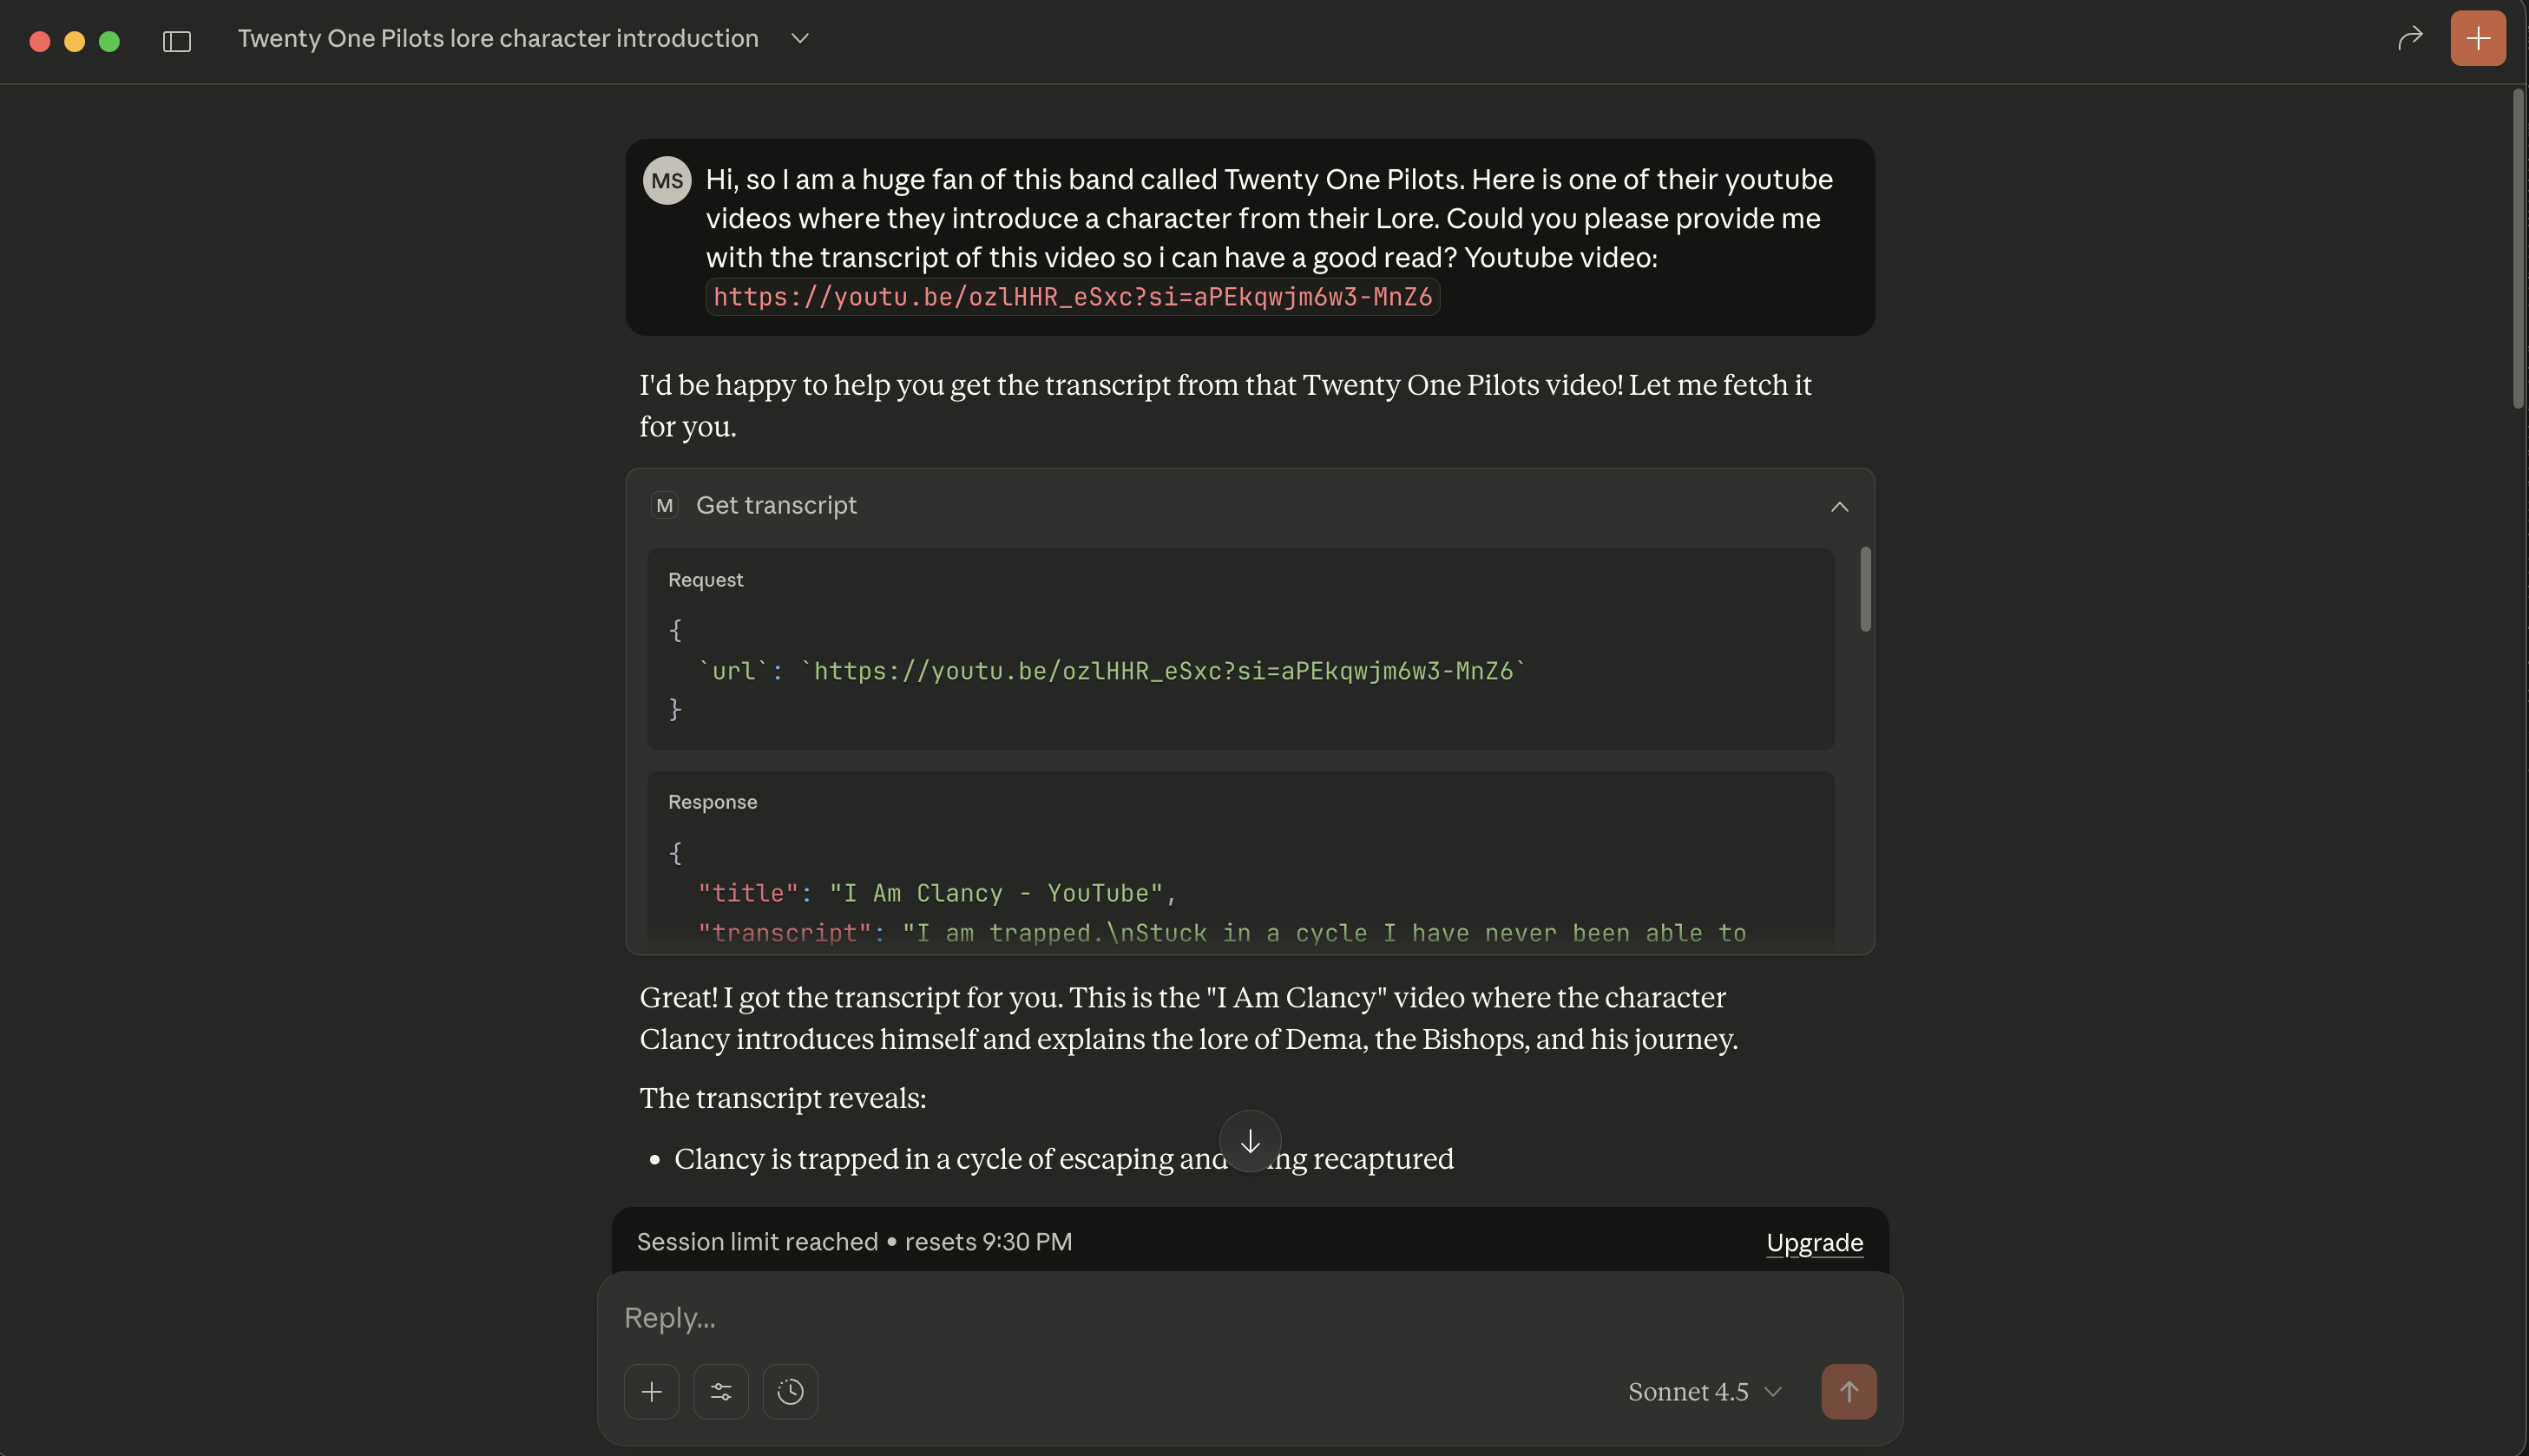
Then I went ahead with the one I knew for sure would have a transcript and again it performed beautifully.
Update: 3rd December, 2025
Yesterday I tried a couple of more MCPs which were more relavent to my work. Those were pretty cool so I wanted to document few notes on those in this part of the blog.

LinkedIn MCP
This particular one was interesting because I was wondering if scrapping data from LinkedIn was allowed legally? But turns out it was a community developed MCP. It still uses automation in the backend, just that the setup felt prettymuch better.
Before you read further
I should add that scrapping data from LinkedIn without the official method is unethical and is against their Terms & Conditions. The work that I did was purely for Experimental and Research purpose only. Please ensure that if you intend to work on the same, keep in mind the GDPR Compliance that we are all bound to.
What I mean by that is, if you have tried automation of LinkedIn scrapping (via selenium in my case), you would use a chromium driver to drive the automation, but one drawback I would see is that - each session would be different. Which means, each time i start the automation, it is a new login to my LinkedIn account. Naturally, that is bad because you wouldn't want that to happen too frequently.
This particular MCP server solves that by making us generate a server cookie. Essentially you create a code and it keeps your credentials and login cache active for about 30 days. That I thought was pretty cool.
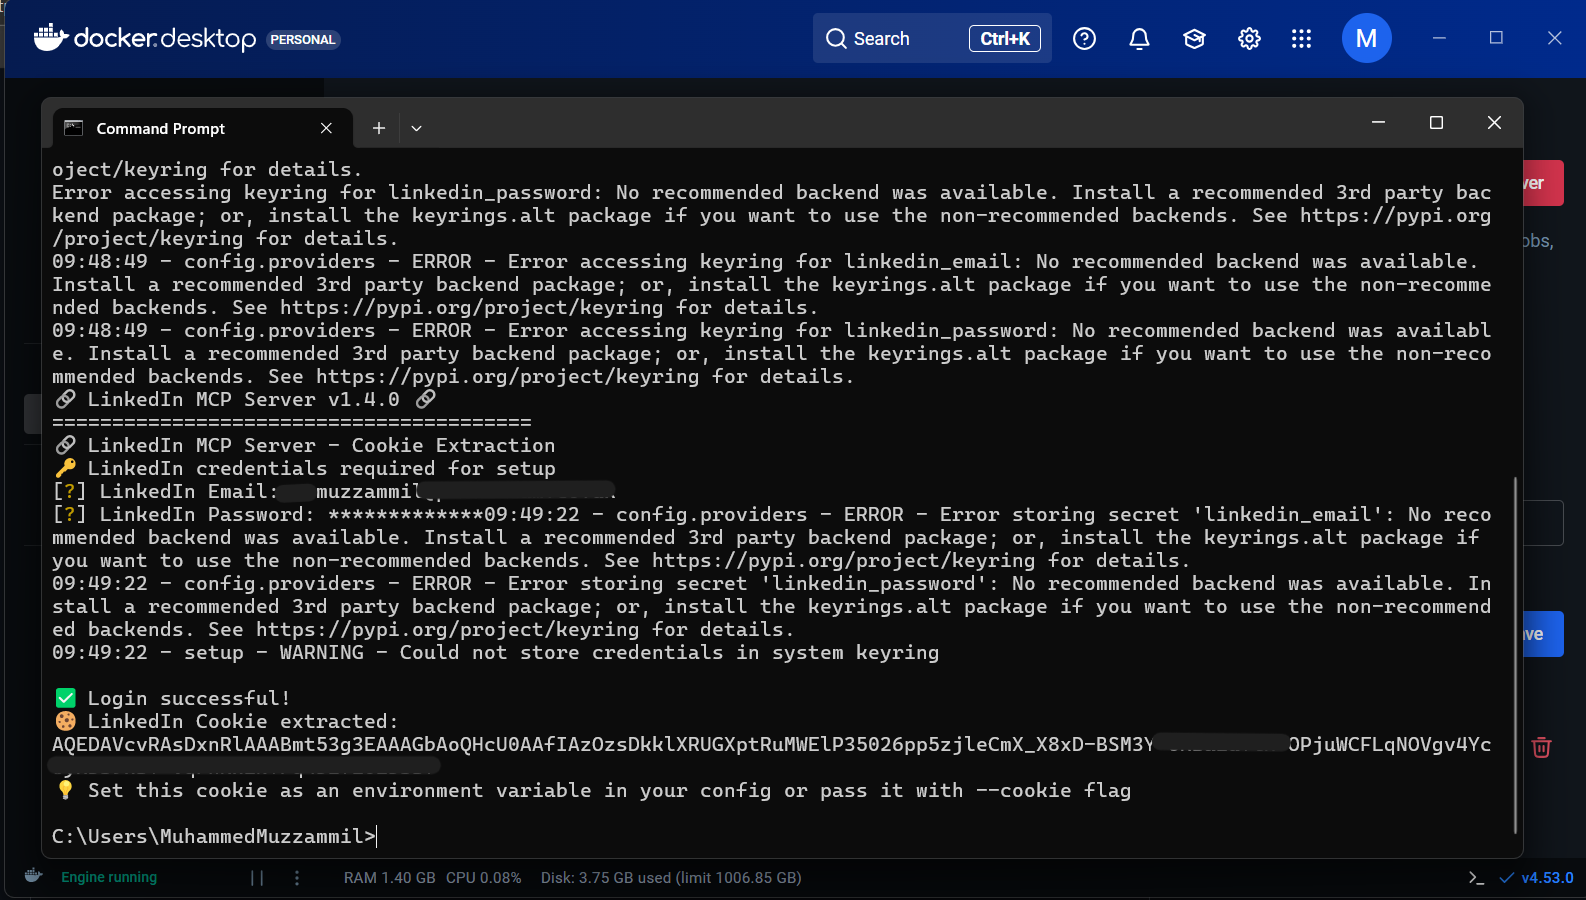
Another point worth mentioning - As told, this was a community developed version. Even the server cookie we generated was via a docker image which the author had developed to specifically work with this MCP. While I thought this was very impressive work, it goes without saying that you should be using this at your own risk :)
PostgreSQL MCP
This was another essential server I was looking forward to use as PostgreSQL is like my 'the most used DB'. The setup was fairly simple, you just have to add your Postgre URL. Now, in my case I had a server DB hosted so I had the link handy. If you have one too, then I just wanted to mention till which part of the URL you are meant to add and few things you might want to avoid (because I made those mistakes while trying it out XD)
Important
At the time of working with this, it seems this particular server MCP has been archieved, so it is not actively maintained anymore. But you can still perform a basic Read-only operation as that's standard and works pretty well.
URL format expected: postgresql://user:password@host:port/db-name
Normally, if you have worked with Python, you would also add a SSL mode after the db-name, something like ?sslmode=prefer. But you don't have to do that here (I haven't still seen the the MCP code developed for this, but I guess they handle it internally).
Next, this may not be the case for everyone, but if your password has any special characters, especially @, then you will have to process that differently. Normally you would handle this via your code logic, but the MCP server doesn't do that, so the way to solve that is to switched your @ with %40. The reason being, when the server URL is being processed, it tends to look for the hostname after the @ in the URL. So having that speciall character in between hinders that. So if your password is P@@sword (this is a terrible password by the way, please don't keep it this simple), then you would update it to p%40%40ssword.
And yeah that is all you need to do. While using this, I suggest you use a good LLM which is great at code, as querying on this MCP Server is only efficient which the query generated in good. I used Sonnet 3.7 and Claude arguably provides the best coding models so it worked like a charm.
HubSpot MCP
Finally, this MCP would have been an absolute game changer. But as you see in the screenshot above, it literally had 0 (ZERO) TOOLS to invoke. So, it was pretty useless.
The only points worth noting are:
- You would need a Developer API (which you can access if you have a developer account).
- It seems this server doesn't exactly run locally and it runs in a remote environment. I am still not completely sure what that means for us to use it, but I would love to figure that out and update it here as I learn more.
I also went through the HubSpot doc to see if they had officially launched this. They have (I still need to dive deep into the specifics) but it seems the Docker MCP Toolkit still doesn't have it. But I am sure that should come out soon as HubSpot is pretty huge haha.
Conclusion
And that was it! I am sure you were as impressed with this as I was. I thoroughly enjoyed this. I am looking forward to using this for my day-to-day activities (at least for the niche repetitive ones) and the next step would be to create my own server (and a client too if I can). Will try to write up a blog once I do that as well, In Sha Allah.
Appendix
macOS asking permission to install Rosetta 2 when installing Docker Desktop
Now, obviously I didn't really know why that was happening either. So I went to my good friend to ask why this was prompted to me and if it was ok for me to go ahead with. Here is what he said!
🔹 What that popup means
The message saying “A software update is required. Rosetta enables Intel-based features to run on Apple silicon Macs…” is macOS asking permission to install Rosetta 2.
Since you’re on a MacBook Air M4, your chip is Apple Silicon (ARM architecture). However, Docker Desktop (and some of the tools or images it uses) may include Intel-only components, compiled for the old Intel x86 architecture.
To run those components, macOS needs Rosetta 2, which is a built-in Apple translation layer that:
- Translates Intel-based code so it can run on Apple Silicon.
- Installs only once system-wide.
- Doesn’t affect performance or security negatively.
- Doesn’t modify your existing apps or files.
🔹 Why it appeared
Docker uses background helper processes (like the Docker Engine, CLI, or supporting utilities). Some of these are still Intel binaries, so macOS prompted you to install Rosetta to make them compatible.
This is totally normal; even Apple recommends installing Rosetta if you see this prompt.
🔹 Will it affect your Mac or existing data?
No, not at all.
- It doesn’t change your macOS system or delete/modify anything.
- It runs only when needed (when you open an Intel-only app).
- It has no performance hit for Apple Silicon-native apps.
- It’s safe and provided directly by Apple (the URL in your popup is an official Apple link).
🔹 In short
✅ It’s safe to install. ✅ It’s required for Docker and some developer tools to function correctly. ✅ It won’t affect your Mac’s performance, security, or existing apps.
Docker MCP Gateway explained
Here is the video from Network Chuck that I watched to implement this, brilliant video.
Thanks for reading, see you on the next one!