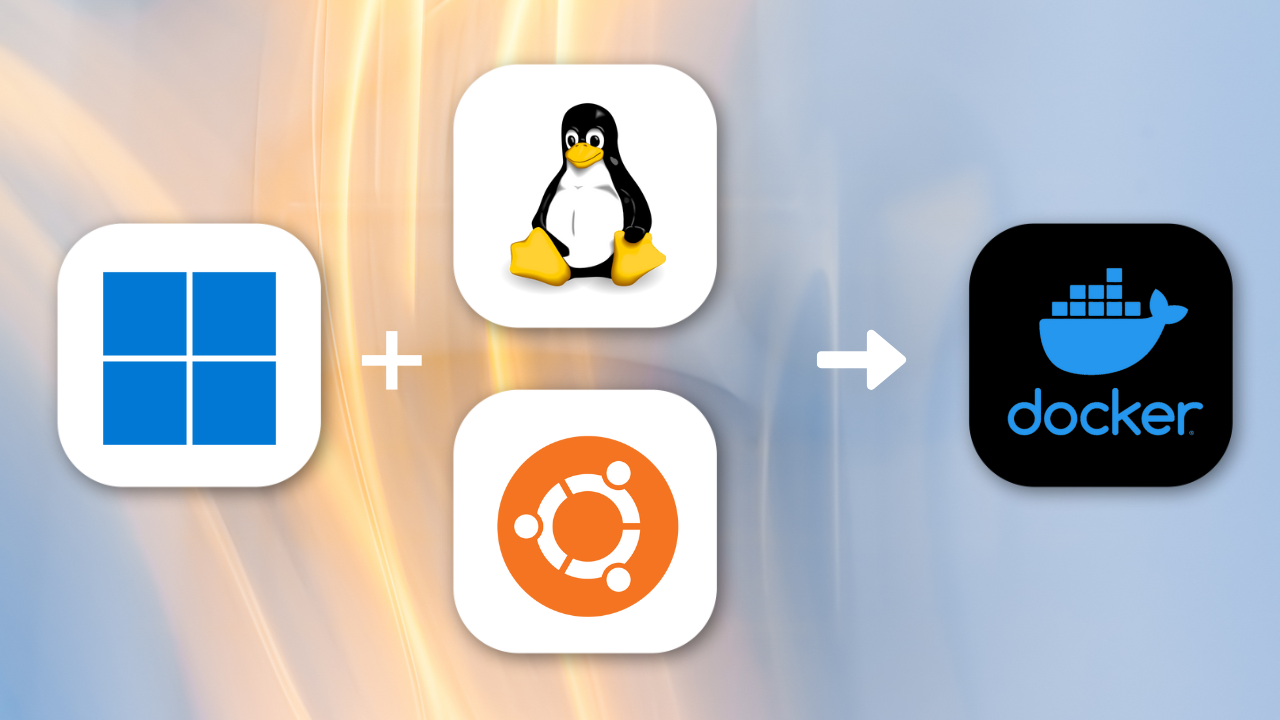
Docker on Windows WSL Setup
I first came across Windows WSL through Network Chuck’s video about a year ago when it came out and honestly it was just mind-blowing. Because almost every AI/ML based project is primarily designed to function in a Linux environment, especially when it comes to its development.
Note
If you feel blog write-ups like this are not for you, I would 100% recommend y’all watch that Network Chuck video linked above. They essentially cover the same thing :)
Now, macOS is just brilliant and of course it adapts really well, and it almost always has no issues running those same apps. But the main problem arises when you have a Windows machine. Yes, you could have Ubuntu as your second OS under dual-boot but those who have tried that would know what an absolute pain it is to set up. So, getting access to Windows WSL felt almost euphoric.
I had done it a year ago and boy it felt amazing to finally run the projects I wanted to try and see what is actually going on under the hood (funnily enough, those were actually Open WebUI and Ollama which I still work with even now). Since I had already covered how those can be set up on macOS, I thought it would only be fair to do one for Windows as well. Plus, the implementation that I did a year back was a bit sloppy. I got the opportunity to do that again on a fresh Windows machine.
So this time I put in all the lessons I had from my previous experience and had like the smoothest setup done (and I documented it of course, which is what you will be reading here).
Why are we doing this?
The final aim is to be able to try out Docker’s MCP Toolkit with Claude Desktop as my Client. I have already covered how to set those up on macOS in my previous blog. Now, in order to use Docker on Windows it needs to have WSL underneath (will explain more on this). While it’s more straightforward to do this on an Ubuntu machine, Claude Desktop still doesn’t officially support Linux. Therefore the only option was to set up WSL so Docker runs smoothly and we can have the same environment as we did on macOS.
What Docker Desktop does under the hood on Windows
I always wondered why Docker can’t directly run on windows, I finally understood that so let’s start with that.
- If you want to use Docker Desktop on a modern Windows machine (It’s 2025 as of when I am writing this), having Windows Subsystem for Linux 2 (WSL 2) installed (or using the older alternative backend Hyper-V (which was actually the method I followed once before)) is essentially required.
- Docker (the container technology) was originally built around the Linux kernel. So, Linux containers expect Linux-kernel features (namespaces, cgroups, etc.).
- On Linux, Docker runs natively. On macOS or Windows, Docker needs some kind of environment that gives a Linux-kernel. On macOS that’s a lightweight VM; on Windows, modern Docker Desktop uses WSL 2 as that environment by default.
- WSL 2 is not just a “translation layer” (as WSL 1 was), it actually runs a real Linux kernel in a lightweight VM. That gives near-native Linux behavior (everything Docker needs) with less overhead than a full-blown VM.
- So, Docker Desktop doesn’t run “Docker for Windows” in the sense of purely Windows containers (unless you explicitly switch to that mode). Instead, containers run inside that Linux-on-WSL kernel.
Because of that, Docker Desktop for Windows typically expects WSL 2 (or Hyper-V in legacy/alternate mode), otherwise it doesn’t have a proper Linux kernel to run containers.
What WSL requirement means in practice
- If you just install Docker Desktop without WSL, you’re missing the backend that actually runs containers (unless you switch to Windows-container mode, which many images don’t support).
- On many Windows editions (especially Home), Hyper-V may not be available or convenient, so WSL 2 becomes effectively mandatory.
- That means managing a Linux-on-Windows setup: enabling Windows features (virtualization), installing a Linux distribution, setting default version to WSL 2 which in turn would feel like extra overhead when you just want to run Docker.
- On the plus side: once set up, you get a “real” Linux environment on Windows, with good performance, ability to run Linux-native containers, integration with Windows tools (editors, file system, IDEs).
- So, this requirement exists because Docker’s container model depends on Linux-kernel behavior; WSL 2 is Microsoft’s way to provide such a kernel on Windows without a heavy full-VM hypervisor.
Awesome, now that we have got the basics and our reason to implement this, let's go ahead with the setup.
Setup walkthrough
Step 0 - Quick reality check (important)
Docker Desktop is supported on Windows 10/11 (not Windows Server). If your “Windows machine” is actually Windows Server 2019/2022, Docker Desktop isn’t supported. In that case you’d have to install Docker Engine on Windows Server for Windows containers.
If you are not sure, run this in Command Prompt:
systeminfo | findstr /B /C:"OS Name" /C:"OS Version"
If you are on Windows 10/11, proceed below.
But if it says Windows Server 2019/2022, Docker Desktop isn’t supported on Server. You’d use Windows Server containers or run Docker on a Linux box instead.
Step 1 - Confirm virtualization is ready
Check virtualization is enabled: Open Task Manager → Performance (CPU) and look for “Virtualization: Enabled.” If it’s Disabled, enable Intel VT-x/AMD-V in BIOS/UEFI and reboot.
Also, confirm the Windows hypervisor is allowed (this is optional).
Run PowerShell (Admin):
bcdedit /enum | findstr -i hypervisorlaunchtype
You want Auto, or it’s fine if it is blank as well (that means it was already enabled for you and you would have noticed it in Task Manager itself). If it shows Off, enable Hypervisor again and reboot.
Step 2 - Install WSL (Windows Subsystem for Linux)
Open PowerShell (Run as Administrator) and run:
wsl --install -d Ubuntu
wsl --set-default-version 2
wsl --update
Reboot if prompted.
Launch Ubuntu once to create your Linux username/password (make sure you save this somewhere).
Verify WSL status and version:
wsl --status
wsl -l -v
You should see your distro at Version 2. Why WSL? Docker Desktop uses WSL 2 as its Linux kernel backend on Windows for Linux containers. It’s the recommended path.
Now, there is a good chance that when you ran the above two commands you would have received the following outputs respectively:
C:\Windows\System32>wsl –status
Default Version: 2 WSL1 is not supported with your current machine configuration. Please enable the "Windows Subsystem for Linux" optional component to use WSL1.
C:\Windows\System32>wsl -l -v
Windows Subsystem for Linux has no installed distributions. You can resolve this by installing a distribution with the instructions below: Use 'wsl.exe --list --online' to list available distributions and 'wsl.exe --install <Distro>' to install.
If yes, your output just means WSL is installed and set to use WSL 2, but you haven’t installed a Linux distro yet. That’s normal. Next steps below will finish it and get Docker Desktop working.
If you got the right versions shown, then you may proceed directly to Step 3.
Step 2(b) - Install a Linux distro (Ubuntu) for WSL
You’re ready for a distro. List options, then install Ubuntu:
wsl --list --online
wsl --install -d Ubuntu-24.04
If Ubuntu-24.04 isn’t listed, use Ubuntu (the default LTS) instead. For me, 24.04 is the current LTS. After install, reboot if asked, then launch “Ubuntu” once to create your Linux username (again, make sure you note that down somewhere, will come in handy).
Verify by running:
wsl -l -v
You should see: Ubuntu ... Version 2
Step 3 - Install Docker Desktop for Windows (WSL 2 backend)
- Download & install Docker Desktop for Windows (accept the WSL 2 backend during setup).
- Open Docker Desktop → Settings → Resources → WSL Integration and enable integration for your Ubuntu distro.
Test Docker:
docker version
docker run --rm hello-world
If you see the hello-world message, you’re good!
If anything looks off, verify the foundations:
- Virtualization enabled in BIOS/UEFI and Windows: Docker/WSL need it.
- Windows features “Virtual Machine Platform” and “Windows Subsystem for Linux” enabled (the
wsl --installcommand normally handles this).
Thoughts
WSL 2 is a lightweight VM but it can also use lots of RAM when busy. You can cap it globally with some wslconfig settings. I won’t be doing that now, as I will only be using this for trying out the MCP Toolkit and as already covered about on my previous blog, it only utilizes the computational resources when the LLM makes the call to the tool in the server, otherwise it doesn’t take up any instances at all, which is very convenient. But if I do implement it some day and implemented it well, I will update this section of the blog, In Sha Allah.
Conclusion
Just run docker in your command line (without Administrator privileges is also fine) and you should see a bunch of options for the command. Along with that, run the wsl status commands shown at the start. If both succeed, then your Docker Desktop+WSL2 is healthy.
And now you are all set to use it!
If you would like to know what you want to implement, head over to this section of my MCP Hands-on implementation blog.
Hope you found that useful. Happy learning!